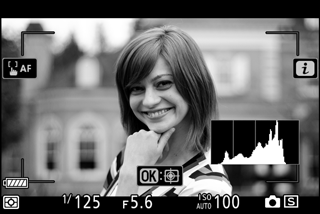
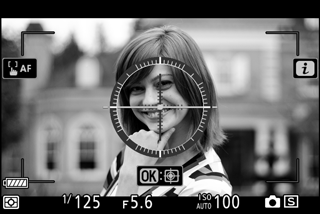
Camera Controls
This section outlines how to use various camera controls and displays.
- The Viewfinder
- The Monitor Mode Button
- Touch Controls
- The DISP Button
- The Sub-Selector
- The AF-ON Button
- The Command Dials
- The G Button
- The i Button (i Icon)
- The Function Buttons (Fn1 and Fn2)
The Viewfinder
Placing your eye to the viewfinder activates the eye sensor, switching the display from the monitor to the viewfinder (note that the eye sensor will also respond to other objects, such as your fingers). The viewfinder can be used for menus and playback if desired.
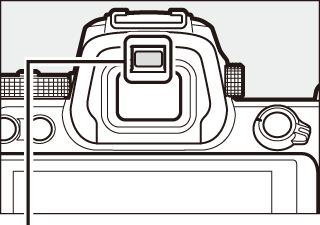
Eye sensor
The Diopter Adjustment Control
To focus the viewfinder, lift and rotate the diopter adjustment control, being careful not to put your fingers or fingernails in your eye. Push the control back in once focus is adjusted to your satisfaction.
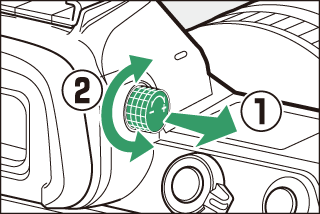
Extended Use
When using the viewfinder for extended periods, you can adjust viewfinder brightness and hue for ease of viewing by selecting Off for Custom Setting d8 (Apply settings to live view).
The Monitor Mode Button
Press the monitor mode button to cycle between the viewfinder and monitor as follows:
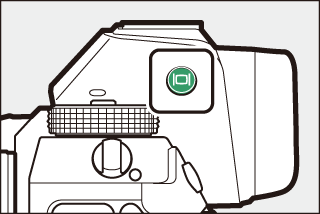
- Automatic display switch: The display switches from the monitor to the viewfinder when you place your eye to the viewfinder, and from the viewfinder to the monitor when you take your eye away.
- Viewfinder only: The viewfinder is used for shooting, menus, and playback; the monitor remains blank.
- Monitor only: The monitor is used for shooting, menus, and playback; the viewfinder display will remain blank even if you put your eye to the viewfinder.
- Prioritize viewfinder: The camera functions in a manner similar to existing digital SLR cameras. Placing your eye to the viewfinder turns the viewfinder on and taking your eye away turns the viewfinder off. In photo mode, the monitor remains blank, while in movie mode, during playback, or while menus are displayed, the monitor will turn on when you take your eye away from the viewfinder.
Monitor Mode
You can limit the choice of monitor modes available using the Limit monitor mode selection option in the setup menu.
Touch Controls
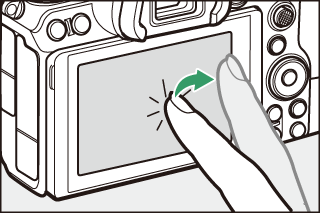
The touch-sensitive monitor can be used to adjust camera settings, focus and release the shutter, view photos and movies, enter text, and navigate the menus. Touch controls are not available while the viewfinder is in use.
Focusing and Releasing the Shutter
Touch the monitor to focus on the selected point (touch AF). In photo mode, the shutter will be released when you lift your finger from the display (touch shutter).
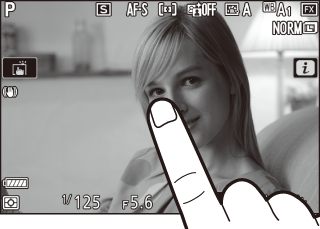
Touch AF settings can be adjusted by tapping the W icon (0 The Touch Shutter).
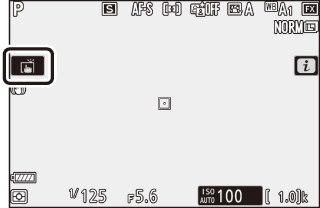
Adjusting Settings
Tap highlighted settings in the display and choose the desired option by tapping icons or sliders. Press J to select the chosen option and return to the shooting display or tap Z to exit without changing settings.
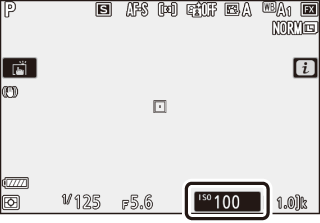
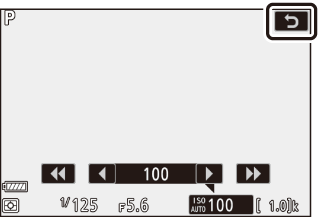
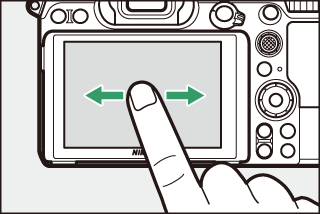
Playback
Flick left or right to view other pictures during full-frame playback.
In full-frame view, touching the bottom of the display brings up a frame-advance bar. Slide your finger left or right over the bar to scroll rapidly to other pictures.
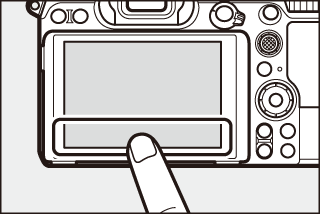

Frame advance bar
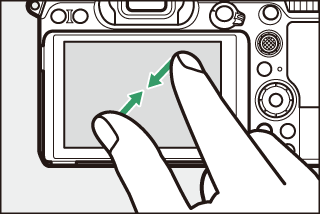
Use stretch and pinch gestures to zoom in and out and slide to scroll. You can also give the display two quick taps to zoom in from full-frame playback or cancel zoom.
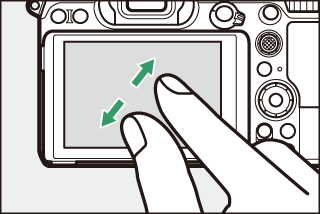
To “zoom out” to a thumbnail view, use a pinch gesture in full-frame playback. Use pinch and stretch to choose the number of images displayed from 4, 9, and 72 frames.
Movie Playback
Tap the on-screen guide to start movie playback (movies are indicated by a 1 icon). Tap the display to pause or resume, or tap Z to exit to full-frame playback.
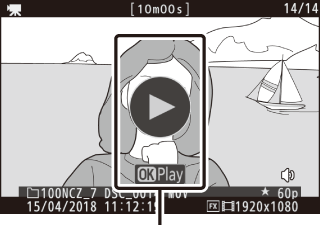
Guide
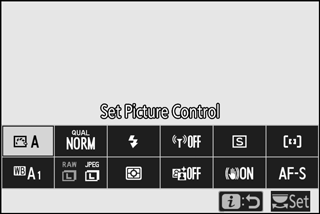
The i Menu
Tap the i icon to display the i menu during shooting (0 The i Button (i Icon), The i Button).
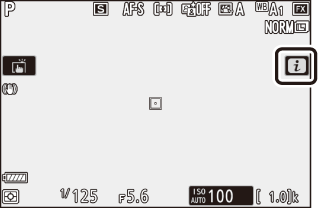
Tap items to view options.
Text Entry
When a keyboard is displayed, you can enter text by tapping the keys (to cycle through the upper- and lower-case and symbol keyboards, tap the keyboard selection button) or move the cursor by tapping in the text display area.
Text display area
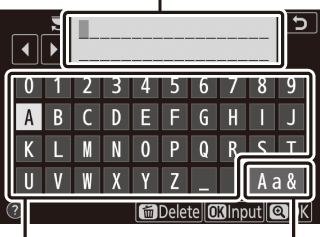
Keyboard area
Keyboard selection
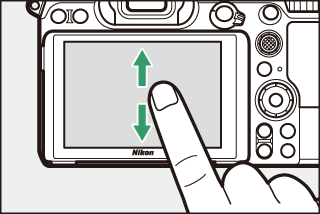
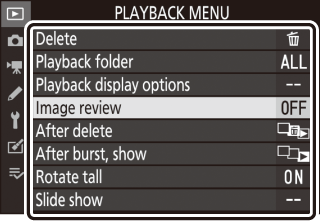
Navigating the Menus
Slide up or down to scroll.
Tap a menu icon to choose a menu.
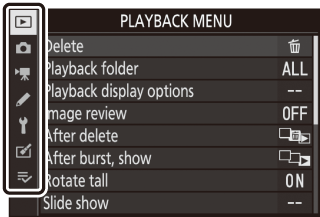
Tap menu items to display options and tap icons or sliders to change.

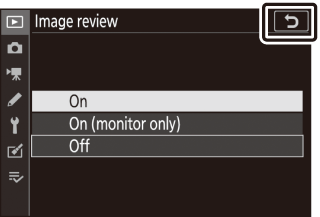
To exit without changing settings, tap Z.
The Touch Screen
The touch screen responds to static electricity and may not respond when covered with third-party protective films, when touched with fingernails or gloved hands, or when touched simultaneously in multiple locations. Do not use excessive force or touch the screen with sharp objects.
Enabling or Disabling Touch Controls
Touch controls can be enabled or disabled using the Touch controls option in the setup menu (0 Touch Controls).
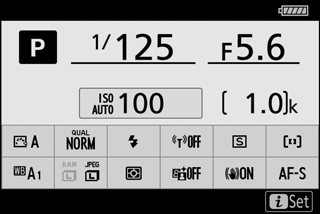
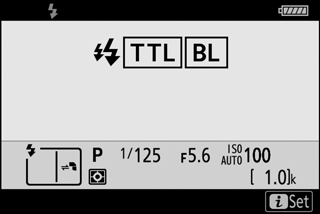
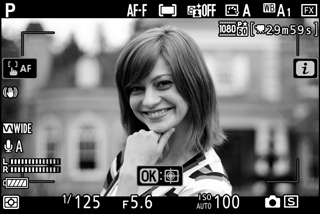
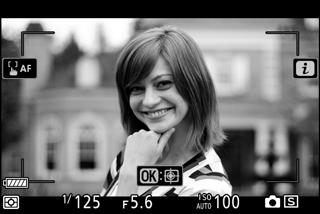
The DISP Button
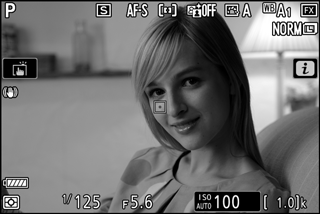
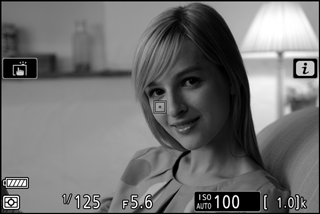
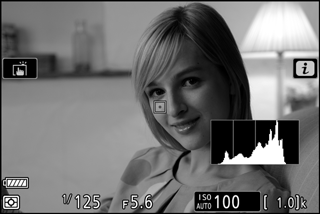
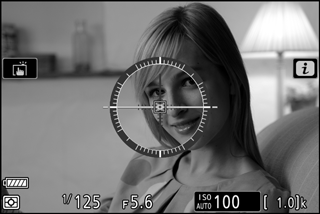
Use the DISP button to view or hide indicators in the monitor or viewfinder.
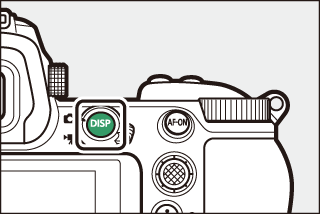
Photo Mode
In photo mode, pressing the DISP button cycles the display as follows:
Not displayed when Off is selected for Custom Setting d8 (Apply settings to live view) or On is selected for Overlay shooting in multiple exposure mode.
Not displayed in the viewfinder.
Displayed when an optional SB-5000, SB-500, SB-400, or SB-300 flash unit is mounted on the accessory shoe or a WR-R10 wireless remote controller commands a flash unit via radio flash control.
Movie Mode
In movie mode, pressing the DISP button cycles the display as follows:
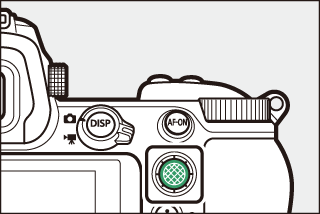
The Sub-Selector
Use the sub-selector as a joystick to select the focus point, or press the center of the sub-selector to lock focus and exposure (0 The Sub-Selector, Locking Focus and Exposure).
The AF-ON Button
In autofocus mode, the AF-ON button can be used to focus.
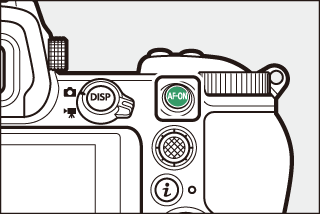
The Command Dials
Use the command dials to adjust shutter speed or aperture or in combination with other buttons to change camera settings.
Sub-command dial
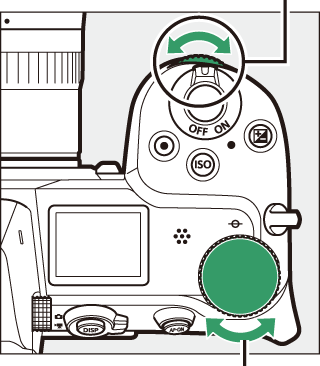
Main command dial
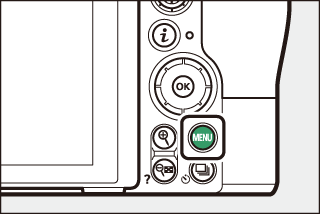
The G Button
Press the G button to view the menus.
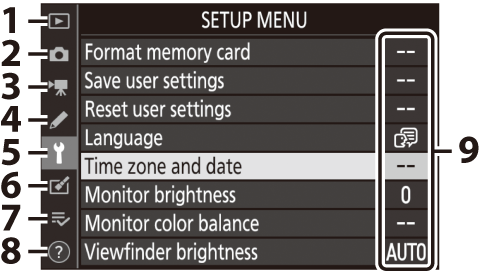
Using the Menus
You can navigate the menus using the multi selector and J button.
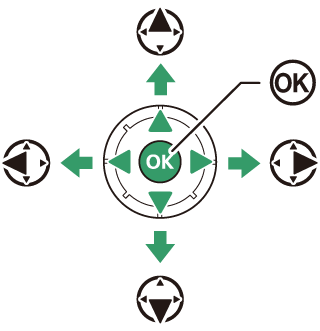
- 1: Move cursor up
- 3: Move cursor down
- 4: Cancel and return to previous menu
- 2: Select highlighted item or display sub-menu
- J: Select highlighted item
-
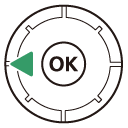
Highlight the icon for the current menu.
Press 4 to highlight the icon for the current menu.
-
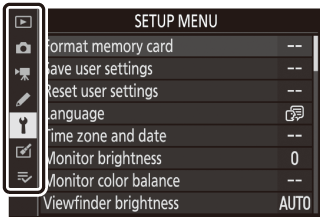
Select a menu.
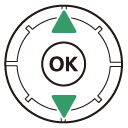
Press 1 or 3 to select the desired menu.
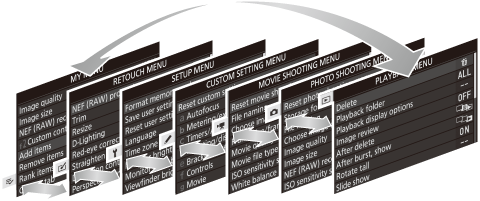
-
Position the cursor in the selected menu.
Press 2 to position the cursor in the selected menu.

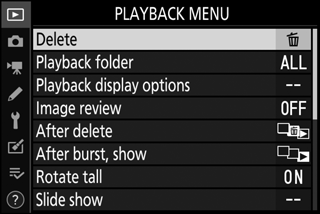
-
Highlight a menu item.
Press 1 or 3 to highlight a menu item (items that are displayed in gray are not currently available and cannot be selected).

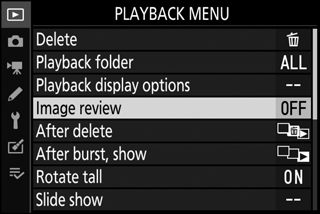
-
Display options.
Press 2 to display options for the selected menu item.

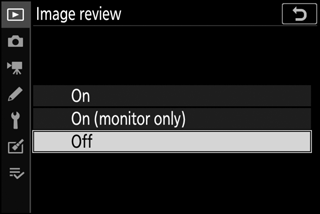
-
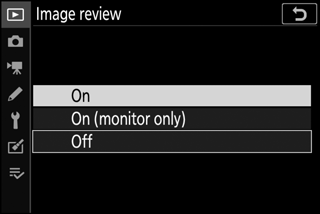
Highlight an option.
Press 1 or 3 to highlight an option (options that are displayed in gray are not currently available and cannot be selected).

-
Select the highlighted item.
Press J to select the highlighted item. To exit without making a selection, press the G button. To exit the menus and return to shooting mode, press the shutter-release button halfway.
You can also navigate the menus using touch controls (0 Navigating the Menus).
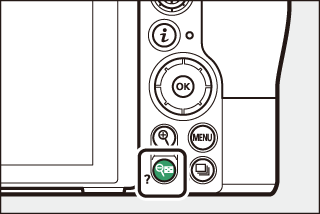
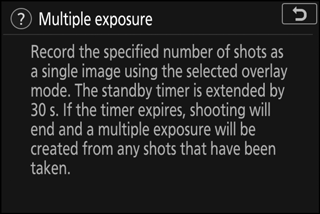
The d (Help) Icon
If a d icon appears at the bottom left corner of the display, you can view a description of the currently selected option or menu by pressing the W (Q) button. Press 1 or 3 to scroll the text, or press W (Q) again to return to the menus.
The i Button (i Icon)
For quick access to frequently-used settings, press the i button or tap the i icon in the display.
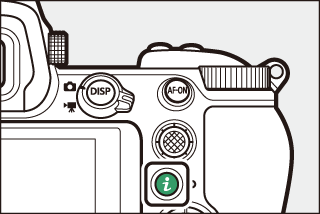
or


Tap the desired item or highlight items and press J to view options. You can also adjust settings by highlighting items and rotating the command dials. The items displayed in photo mode (0 The Photo-Mode i Menu) differ from those displayed in movie mode (0 The Movie-Mode i Menu).
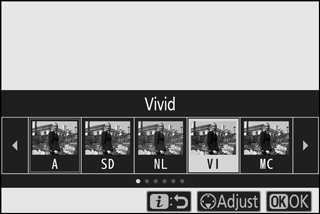
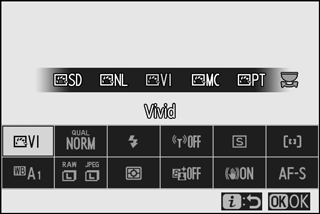
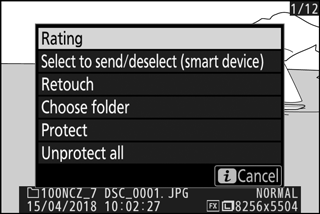
Pressing the i button during playback displays a context-sensitive menu of frequently-used playback options.
Customizing the i Menu
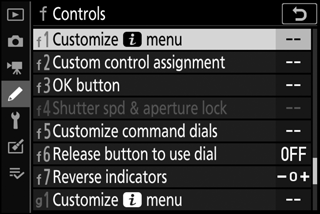
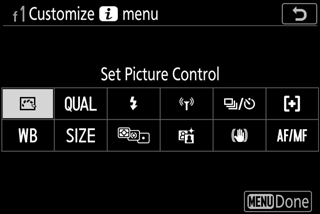
The items displayed in the photo-mode i menu can be chosen using Custom Setting f1 (Customize i menu)
-
Select Custom Setting f1.
In the Custom Settings menu, highlight Custom Setting f1 (Customize i menu) and press J (for information on using the menus, see “The G Button”, 0 The G Button).
-
Choose a position.
Highlight a position in the menu you want to edit and press J.
-
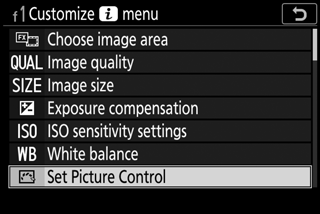
Choose an option.
Highlight an option and press J to assign it to the selected position and return to the menu displayed in Step 2. Repeat Steps 2 and 3 as desired.
-
Exit.
Press the G button to save changes and exit.
The following options can be assigned to the i menu for photo mode:
- Choose image area
- Image quality
- Image size
- Exposure compensation
- ISO sensitivity settings
- White balance
- Set Picture Control
- Color space
- Active D-Lighting
- Long exposure NR
- High ISO NR
- Metering
- Flash mode
- Flash compensation
- Focus mode
- AF-area mode
- Vibration reduction
- Auto bracketing
- Multiple exposure
- HDR (high dynamic range)
- Silent photography
- Release mode
- Custom control assignment
- Exposure delay mode
- Electronic front-curtain shutter
- Apply settings to live view
- Split-screen display zoom
- Peaking highlights
- Monitor/viewfinder brightness
- Bluetooth connection
- Wi-Fi connection
The movie-mode i menu can be customized using Custom Setting g1 (Customize i menu); the options available differ from those for photo mode.
The Function Buttons (Fn1 and Fn2)
The Fn1 and Fn2 buttons can also be used for quick access to selected settings during shooting. The settings assigned to these buttons can be chosen using Custom Setting f2 (Custom control assignment) and the selected setting adjusted either by pressing the button or by pressing the button and rotating the command dials. At default settings, the Fn1 button is used for white balance and the Fn2 button to select focus and AF-area modes.
Fn1 button
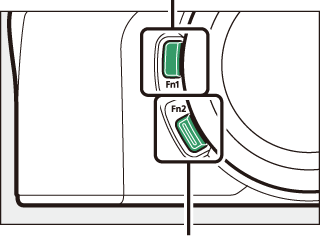
Fn2 button
Customizing the Function Buttons
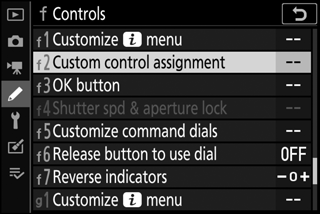
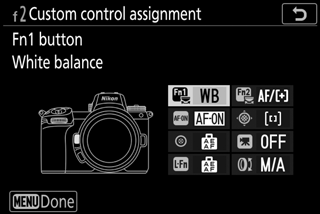
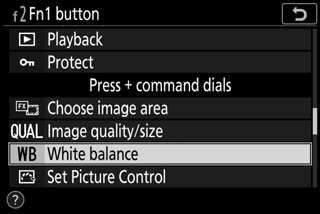
The function performed by the function buttons in photo mode are chosen using Custom Setting f2 (Custom control assignment).
-
Select Custom Setting f2.
In the Custom Settings menu, highlight Custom Setting f2 (Custom control assignment) and press J (for information on using the menus, see “The G Button”, 0 The G Button).
-
Choose a button.
Highlight the option for the desired button and press J. Select Fn1 button to choose the role played by the Fn1 button, Fn2 button to choose the role played by the Fn2 button.
-
Choose an option.
Highlight an option and press J to assign it to the selected button and return to the menu displayed in Step 2. Repeat Steps 2 and 3 to choose the role played by the remaining button.
-
Exit.
Press the G button to save changes and exit.
Roles That Can Be Assigned to the Function Buttons
The following roles can be assigned to the function buttons in photo mode:
- AF-ON
- AF lock only
- AE lock (hold)
- AE lock (reset on release)
- AE lock only
- AE/AF lock
- FV lock
- c disable/enable
- Preview
- Matrix metering
- Center-weighted metering
- Spot metering
- Highlight-weighted metering
- Bracketing burst
- Sync. release selection
- + NEF (RAW)
- Framing grid display
- Zoom on/off
- MY MENU
- Access top item in MY MENU
- Playback
- Protect
- Choose image area
- Image quality/size
- White balance
- Set Picture Control
- Active D-Lighting
- Metering
- Flash mode/compensation
- Focus mode/AF-area mode
- Auto bracketing
- Multiple exposure
- HDR (high dynamic range)
- Exposure delay mode
- Shutter spd & aperture lock
- Peaking highlights
- Rating
- Choose non-CPU lens number
- None
The roles played by the function buttons in movie mode can be chosen using Custom Setting g2 (Custom control assignment); the options available differ from those for photo mode.

