Pixel Shift Shooting Settings
Pixel shift shooting can be set using the camera or NX Tether.
Using the Camera
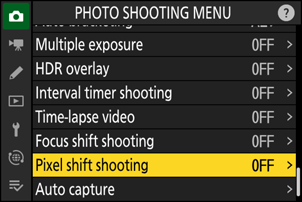
You can adjust pixel shift shooting settings in [Pixel shift shooting] in the photo shooting menu.
| Option | Description |
|---|---|
| [Pixel shift shooting mode] |
|
| [Number of shots] | Choose the number of shots taken each time the shutter-release button is pressed.
|
| [Delay] | Choose the delay between the shutter-release button being pressed all the way down and the start of pixel shift photography. |
| [Interval until next shot] | Choose the interval between shots, in seconds.
|
Functions and Settings Useful for Creating Shortcuts for Pixel Shift Shooting
Here are recommended functions and settings useful for creating shortcuts for pixel shift shooting.
Assigning [Pixel shift shooting] to the i menu: Assign [Pixel shift shooting] using Custom Setting f1 [Customize i menu] to promptly move to the [Pixel shift shooting] settings display.

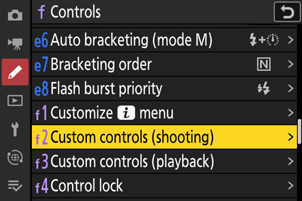
Assigning [Pixel shift shooting] to a custom control: [Pixel shift shooting] can be assigned to a control using Custom Setting f2 [Custom controls (shooting)].
- Rotate the main command dial while pressing the assigned control to change the [Pixel shift shooting mode] setting.
- Rotate the sub-command dial while pressing the assigned control to change the [Number of shots] setting.
Switching between multiple settings with [Shooting menu bank]: Save the pixel shift shooting settings in the camera with [Shooting menu bank] in the photo shooting menu to promptly recall them when needed. This is effective when managing multiple shooting settings. See “Recommended Settings” > “Camera” > “Storing and Selecting Menus Used for Pixel Shift Shooting” for details (0 Storing and Selecting Menus Used for Pixel Shift Shooting).

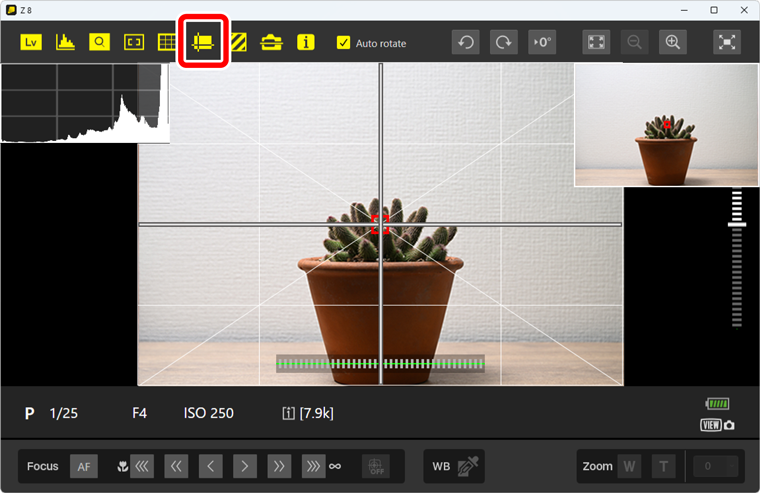
Using NX Tether
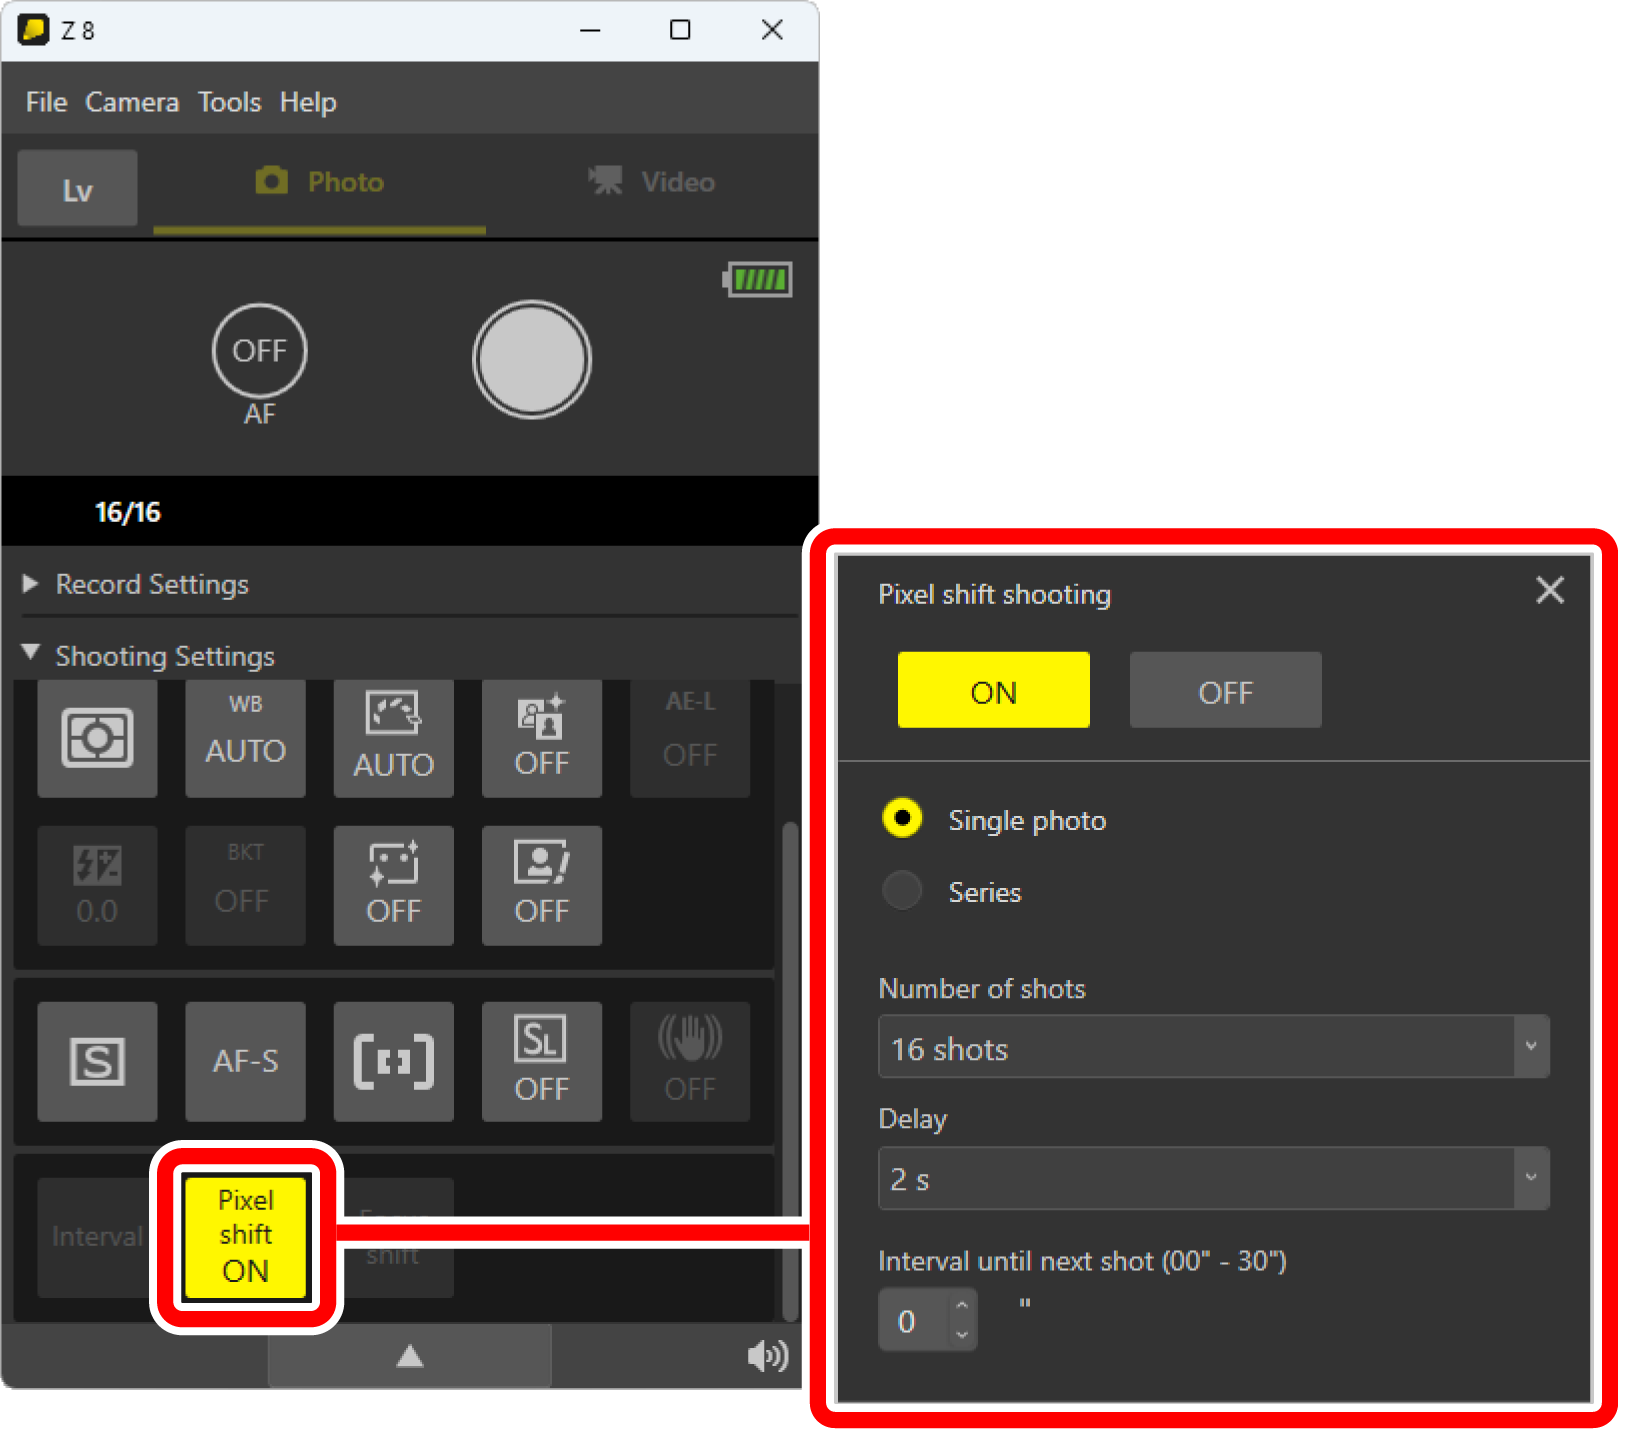
Use NX Tether “tethered photography” software to take pictures while a camera is connected to the computer. Click [Pixel shift shooting] in the [Shooting Settings] pane to adjust shooting settings. Available settings are the same as those in the camera menu. Select [ON] to enable pixel shift photography at the selected settings.
- Download NX Tether from the Nikon Download Center (https://downloadcenter.nikonimglib.com/). Use the latest version of the software for pixel shift photography.
- For information on connection to NX Tether and its basic operations, see NX Tether online help (https://nikonimglib.com/nx_tether/onlinehelp/en/).
- For information on connecting the camera to a computer via an Ethernet cable and controlling the camera remotely from the computer, see “Computers: Connecting via Ethernet” (https://onlinemanual.nikonimglib.com/z8/en/computers_connecting_via_ethernet_91.html) and “What You Can Do When the Camera Is Connected to a Computer or FTP Server” > “Camera Control” (https://onlinemanual.nikonimglib.com/z8/en/uploading_pictures_94.html) in Z 8 Reference Guide.
- If an insufficient number of pixel shift pictures are downloaded from the camera, consult “Troubleshooting” > “Not All Pictures Taken in Tethered Photography Are Downloaded” (0 Not All Pictures Taken in Tethered Photography Are Downloaded).
NX Tether comes with convenient features. Customize the settings according to your objectives and situation.
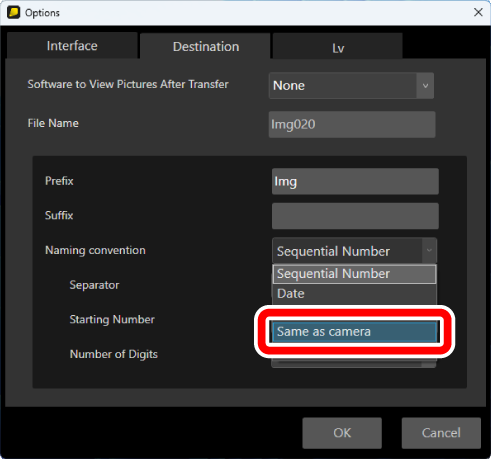
Changing downloaded file names: Select [File Name] under the [Tools] menu > [Options] > [Destination] tab to specify image file names. Selecting [Same as camera] for [Naming convention] enables the use of the same file names as those saved with your camera, making file handling easier. You can also set prefixes or suffixes to generate unique file names.
- Increasing the number of the live view framing grid lines: Select [Horizontal line count] or [Vertical line count] in [Framing grid display] under the [Tools] menu > [Options] > [Lv] tab to customize the number of framing grid lines displayed on the live view image.
Drawing framing guides at the desired positions in live view: Click the show framing guides icon in the live view window to display framing guides, which you can drag to any desired position.
- Downloading pictures shot using the camera shutter-release button: Placing a check next to [Enable Controls on Camera Body] in the [Camera] menu automatically downloads pictures taken with the camera shutter-release button to your computer.
- Measuring preset manual white balance to apply to photos: With version 2.3.0 or earlier, you cannot measure preset manual white balance in photo mode. Instead, switch to video mode to measure preset manual white balance, then switch back to photo mode to apply the obtained preset data to photos.