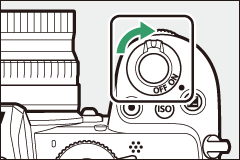
Turn the Camera On
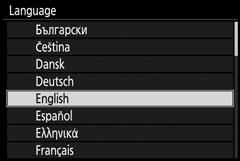
When you first turn the camera on, you will be prompted to choose a language using the multi selector and J button.
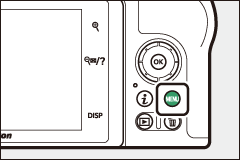
Press G and use the multi selector and J button to set the camera clock. No other operations can be performed until the clock is set.
q
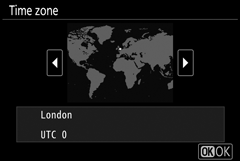
Select time zone
w
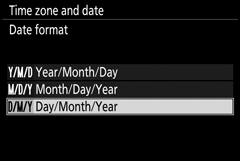
Select date format
e
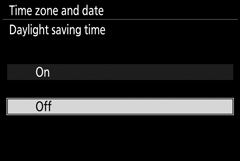
Select daylight saving time option
r
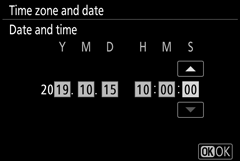
Set time and date (note that camera uses a 24-hour clock)
The t (“Clock Not Set”) Icon
The camera clock is powered by an independent, rechargeable power source, which is charged as necessary when the main battery is installed. Two days of charging will power the clock for about a month. If a t icon flashes in the display, the clock has been reset and the date and time recorded with new photographs will not be correct. Use the Time zone and date > Date and time option in the setup menu to set the clock to the correct time and date (0 Time Zone and Date).
SnapBridge
Use the SnapBridge app to synchronize the camera clock with the clock on a smartphone or tablet (smart device). See SnapBridge on-line help for details.