Taking Photographs (b Mode)
Follow the steps below to take photographs in b (auto) mode, an automatic “point-and-shoot” mode in which the majority of settings are controlled by the camera in response to shooting conditions.
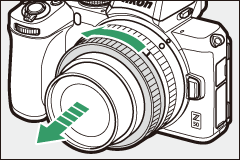
Lenses with Retractable Barrels
Lenses with retractable barrels must be extended before use. Rotate the lens zoom ring as shown until the lens clicks into the extended position.
-
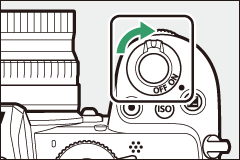
Turn the camera on.
The monitor will light.
-
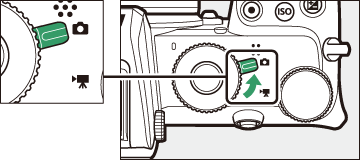
Select photo mode.
Rotate the photo/movie selector to C.
-
Select b mode.
Rotate the mode dial to b.
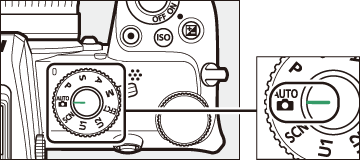
Mode dial
-
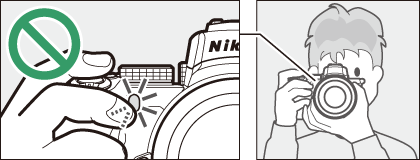
Ready the camera.
Hold the handgrip in your right hand and cradle the camera body or lens with your left. Bring your elbows in against the sides of your chest.
Framing photos in the viewfinder

Landscape (wide) orientation

Portrait (tall) orientation
Framing photos in the monitor

Landscape (wide) orientation

Portrait (tall) orientation
-
Frame the photograph.
Frame the shot with your subject in the AF-area brackets.
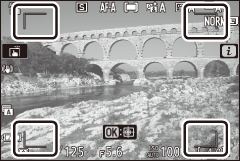
AF-area brackets
-
Press the shutter-release button halfway to focus.

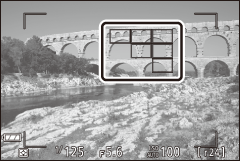
Focus point
- If the subject is stationary, the focus point will be displayed in green when the camera focuses. If the camera is unable to focus, the AF-area brackets will flash. If the subject is in motion, the camera will continue to adjust focus in response to changes in the distance to the subject while the shutter-release button is pressed halfway; focus will not lock.
- The AF-assist illuminator may light to assist the focus operation if the subject is poorly lit.
The AF-Assist Illuminator
Do not obstruct the AF-assist illuminator while it is lit.
-
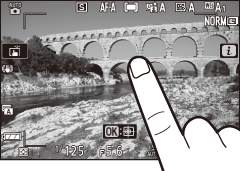
Shoot.
Smoothly press the shutter-release button the rest of the way down to take the photograph (you can also take a photograph by touching the monitor: touch your subject to focus and lift your finger to release the shutter). The memory card access lamp will light while the photo is recorded to the memory card. Do not eject the memory card or remove the battery until the lamp has gone out and recording is complete.

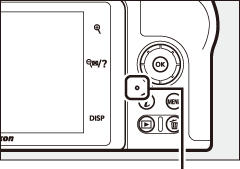
Memory card access lamp
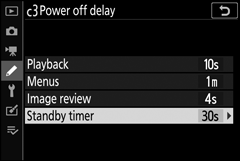
The Standby Timer
If no operations are performed for about 30 seconds, the display will dim before the monitor and viewfinder turn off to reduce the drain on the battery. Press the shutter-release button halfway to reactivate the display. The length of time before the standby timer expires automatically can be selected using Custom Setting c3 (Power off delay) > Standby timer.