Connect to computers via Wi-Fi.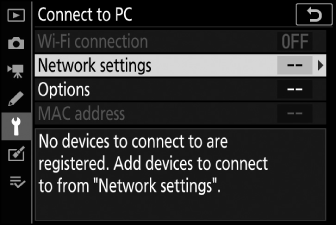
Wi-Fi Connection
Select [] to connect using the settings currently selected for [].
Network Settings
Select [] to create a new network profile (Connecting in Access-Point Mode, Connecting in Infrastructure Mode).
-
If more than one profile already exists, you can press J to select a profile from a list.
-
To edit an existing profile, highlight it and press 2.
|
Option |
Description |
|---|---|
|
[] |
|
|
[] |
|
|
[] |
Adjust TCP/IP settings for infrastructure connections. An IP address is required.
|
Options
Adjust upload settings.
Auto Send
Select [] to upload new photos as they are taken.
-
Upload begins only after the photo has been recorded to the memory card. Be sure a memory card is inserted in the camera.
-
Movies and photos taken during movie mode are not uploaded automatically when recording is complete. They must instead be uploaded from the playback display (Uploading Pictures).
Delete After Send
Select [] to delete photographs from the camera memory card automatically once upload is complete.
-
Files marked for transfer before you selected [] are not deleted.
-
Deletion may be suspended during some camera operations.
Send File As
When uploading NEF + JPEG images, choose whether to upload both the NEF (RAW) and JPEG files or only the JPEG copy.
-
When [] is selected for [] in the photo shooting menu, the option chosen for [] applies only to photos uploaded automatically by selecting [] for [].
Deselect All?
Select [] to remove transfer marking from all images. Upload of images with a “sending” icon will immediately be terminated.
MAC Address
View the MAC address.