The c/E (Release Mode/Self-Timer) Button
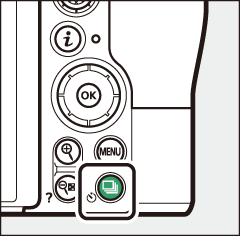
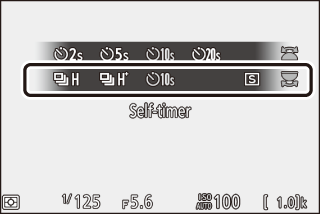
The “release mode” determines what happens when the shutter-release button is pressed. To choose a release mode, hold the c (E) button and rotate the main command dial. Press J when the desired option is highlighted; the selected option is indicated by icons in the shooting display and control panel.
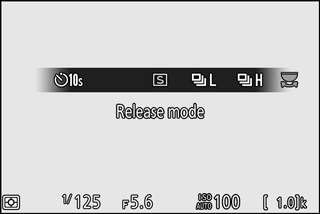

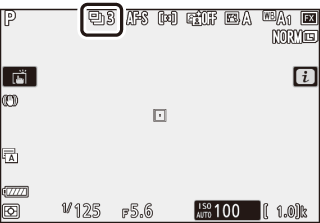
Monitor
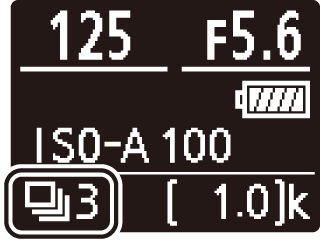
Control panel
The following options are available in photo mode.
| Option | Description | |
|---|---|---|
| U | Single frame | The camera takes one photograph each time the shutter-release button is pressed. |
| V | Continuous L | While the shutter-release button is held down, the camera records 1–5 frames per second. The frame rate can be chosen by rotating the sub-command dial when Continuous L is highlighted in the release-mode menu. |
| W | Continuous H | While the shutter-release button is held down, the camera records up to about 5.5 frames per second. |
| X | Continuous H (extended) | While the shutter-release button is held down, the camera records up to about 9 frames per second (Z 7) or 12 frames per second (Z 6). Optional flash units cannot be used. Flicker reduction has no effect. |
| E | Self-timer | Take pictures with the self-timer (0 The Self-Timer). |
The Shooting Display
In continuous low-speed and continuous high-speed modes, the display is updated in real time even while shooting is in progress.
Frame Advance Rate
Frame advance rate varies with camera settings. The approximate maximum rates at different settings are given in the table below.
| Release mode | Image quality | Bit depth | Silent photography | |
|---|---|---|---|---|
| Off | On | |||
| Continuous L | JPEG/TIFF | — | 5 fps |
Z 7: 4 fps Z 6: 4.5 fps |
| NEF (RAW)/ NEF (RAW) + JPEG |
12 | |||
| 14 |
Z 7: 3.5 fps Z 6: 4 fps |
|||
| Continuous H | JPEG/TIFF | — | 5.5 fps |
Z 7: 4 fps Z 6: 4.5 fps |
| NEF (RAW)/ NEF (RAW) + JPEG |
12 | |||
| 14 |
Z 7: 5 fps Z 6: 5.5 fps |
Z 7: 3.5 fps Z 6: 4 fps |
||
| Continuous H (extended) |
JPEG/TIFF | — |
Z 7: 9 fps Z 6: 12 fps |
Z 7: 8 fps Z 6: 12 fps |
| NEF (RAW)/ NEF (RAW) + JPEG |
12 | |||
| 14 |
Z 7: 8 fps Z 6: 9 fps |
Z 7: 6.5 fps Z 6: 8 fps |
||
Continuous H (Extended)
Depending on camera settings, exposure may vary erratically during each burst. This can be prevented by locking exposure (0 Locking Focus and Exposure).
The Memory Buffer
The camera is equipped with a memory buffer for temporary storage, allowing shooting to continue while photographs are being saved to the memory card. The approximate number of images that can be stored in the buffer at current settings is shown in the exposure-count displays while the shutter-release button is pressed halfway.
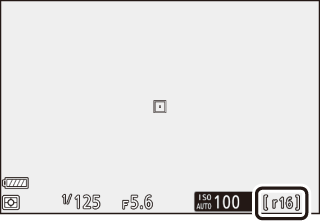
Monitor
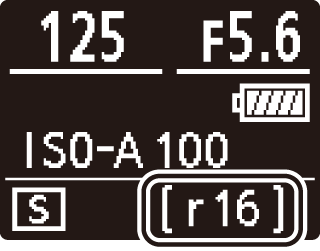
Control panel
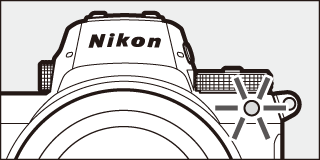
While photographs are being recorded to the memory card, the memory card access lamp will light. Depending on shooting conditions and memory card performance, recording may take from a few seconds to a few minutes. Do not remove the memory card or remove or disconnect the power source until the access lamp has gone out. If the camera is switched off while data remain in the buffer, the power will not turn off until all images in the buffer have been recorded. If the battery is exhausted while images remain in the buffer, the shutter release will be disabled and the images transferred to the memory card.
In movie mode, you can choose the operation performed when the shutter-release button is pressed (0 Shooting Movies (b Mode)).
| Option | Description | |
|---|---|---|
| U | Single frame | The camera takes one photograph each time the shutter-release button is pressed. Regardless of the option selected, a maximum of 50 photos can be taken with each movie. |
| c | Continuous | The camera takes photographs for up to 3 (Z 7) or 2 (Z 6) seconds at a time while the shutter-release button is held down. The frame rate varies with the option selected for Frame size/frame rate in the movie shooting menu. Only one photograph can be taken at a time while movie recording is in progress. |
The Self-Timer
In self-timer mode, pressing the shutter-release button starts a timer, and a photo is taken when the timer expires.
-
Select self-timer mode.
Keeping the c (E) button pressed, rotate the main command dial to highlight E (self-timer).
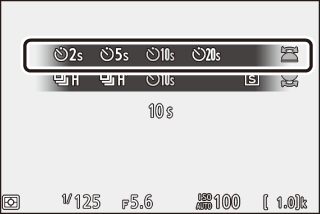
-
Choose the shutter-release delay.
Rotate the sub-command dial to select the shutter-release delay and press J.
-
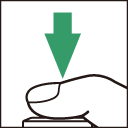
Frame the photograph and focus.
If AF-S is selected for focus mode, the timer will not start unless the camera is able to focus.

-
Start the timer.
Press the shutter-release button all the way down to start the timer. A E icon will appear in the display and the self-timer lamp will start to flash, stopping two seconds before the photograph is taken.
Taking Multiple Shots
Use Custom Setting c2 (Self-timer) to choose the number of shots taken, and the interval between the shots taken, when the self-timer finishes counting down.