Using an On-Camera Flash
Follow the steps below to mount an optional flash unit on the camera and take photographs using the flash.
-
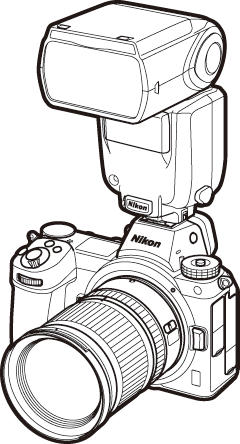
Mount the unit on the accessory shoe.
See the manual provided with the unit for details.
Third-Party Flash Units
The camera cannot be used with flash units that would apply voltages over 250 V to the camera’s X contacts or short-circuit contacts on the accessory shoe. Use of such flash units could not only interfere with normal operation of the camera but also damage the flash sync circuits of the camera and/or flash.
-
Turn on the camera and flash unit.
The flash will begin charging; the flash-ready indicator (c) will be displayed when charging is complete.
-
Adjust flash settings.
Choose the flash control mode (0 Flash Control Mode) and flash mode (0 Flash Modes).
-
Adjust shutter speed and aperture.
-
Take pictures.
Shutter Speed
Shutter speed can be set as follows when an optional flash unit is used:
| Mode | Shutter speed |
|---|---|
| b | Set automatically by camera (1/200 s–1/60 s) |
| P, A | Set automatically by camera (1/200 s–1/60 s) * |
| S | Value selected by user (1/200 s–30 s) |
| M | Value selected by user (1/200 s–30 s, Bulb, Time) |
Shutter speed may be set as slow as 30 s if slow sync, slow rear-curtain sync, or slow sync with red-eye reduction is selected for flash mode.