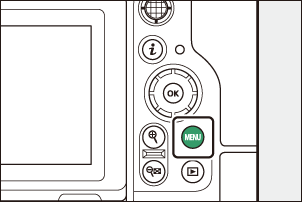
The MENU Button
Press the G button to view the menus.
- C PHOTO SHOOTING MENU (0 Menu Items and Defaults)
- 1 VIDEO RECORDING MENU (0 Menu Items and Defaults)
- A CUSTOM SETTINGS MENU (0 Menu Items and Defaults)
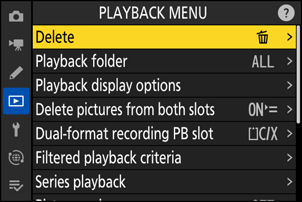
- D PLAYBACK MENU (0 Menu Items and Defaults)
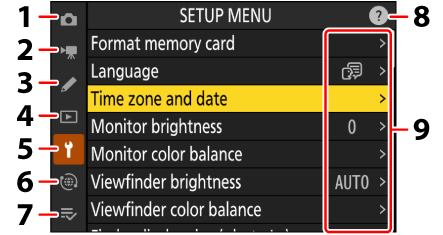
- B SETUP MENU (0 Menu Items and Defaults)
- F NETWORK MENU (0 Menu Items and Defaults)
- O MY MENU/m RECENT SETTINGS * (0 Menu Items and Defaults)
- d (help) icon (0The d (Help) Icon)
- Current settings
You can choose the menu displayed. The default is [MY MENU].
Using the Menus
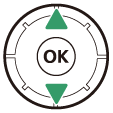
You can navigate the menus using the multi selector and J button.

- Move cursor up
- Select the highlighted item
- Display sub-menu, select highlighted item, or move cursor right
- Move cursor down
- Cancel and return to previous menu, or move cursor left
Highlight the icon for the current menu.
Press 4 to place the cursor in the menu-selection area.


Select a menu.
Press 1 or 3 to select the desired menu.

Position the cursor in the selected menu.
Press 2 to position the cursor in the selected menu.

Highlight a menu item.
Press 1 or 3 to highlight a menu item.

Display options.
Press 2 to display options for the selected menu item.
Highlight an option.
Press 1 or 3 to highlight an option.
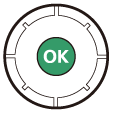
Select the highlighted option.
- Press J to save changes and exit.
- To exit without making a selection, press the G button.
- To exit the menus and return to shooting mode, press the shutter-release button halfway.
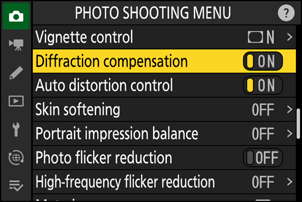
Some items and menu options may be unavailable depending on camera status. Unavailable items are displayed in gray.
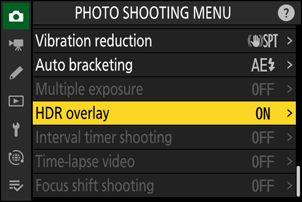
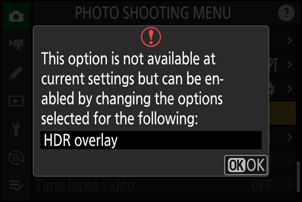
In some cases, pressing J when a grayed-out item is highlighted will display a message explaining why the item is unavailable.
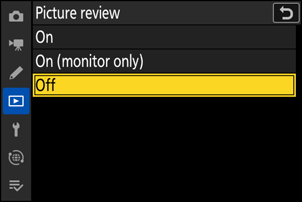
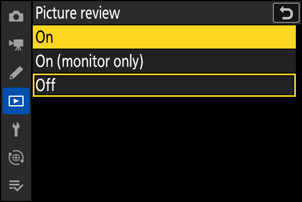
If the only options available for the current item are [ON] and [OFF], you can switch from [ON] to [OFF] or vice versa simply by pressing J, pressing the multi selector right (2), or tapping the item in the display.
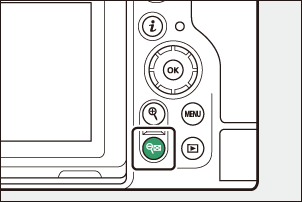
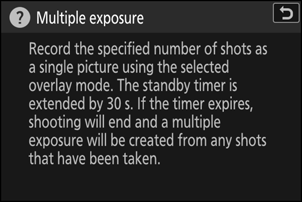
- Where available, a description of the currently-selected item can be viewed by pressing the W (Q) button.
- Press 1 or 3 to scroll.
- Press W (Q) again to return to the menus.
You can also navigate the menus using touch controls (0Touch Controls).
A keyboard is displayed when text entry is required, for example if you are called on to enter a file name or the like. Enter text as described below.
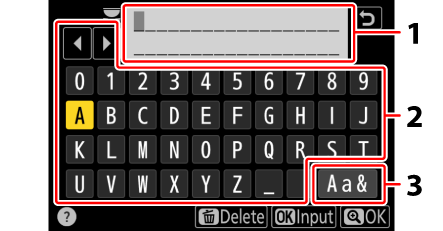
- Text display area
- Keyboard area
- Keyboard selection
- Enter characters at the current cursor position by highlighting them with the multi selector arrow keys and then pressing J.
- The cursor can be moved left or right in the text display area by rotating either of the command dials.
- To cycle through the upper- and lower-case and symbol keyboards, highlight the keyboard selection icon and press J. The keyboard selection icon may not be available in some cases.
- If a character is entered when the text display area is full, the rightmost character will be deleted.
- To delete the character under the cursor, press the O (Q) button.
- To complete entry, press X.
- To exit without completing text entry, press G.