Connecting the Camera to Nikon Imaging Cloud
Use the camera and computer/smart device to establish a Wi-Fi connection between the camera and Nikon Imaging Cloud to access services.
Before Connecting Nikon Imaging Cloud
- You must create a Nikon ID and register with Nikon Imaging Cloud to use the service. Complete registration and sign in on the computer or smart device before connecting to the camera. See the Nikon Imaging Cloud online help for detailed instructions.
- A web browser is required to use Nikon Imaging Cloud.
- A Wi-Fi environment is required to connect the camera and Nikon Imaging Cloud. Connect the camera to an existing network (including home networks) via a wireless router.
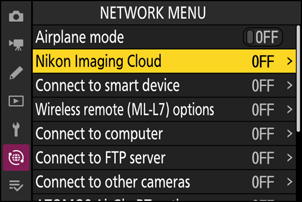
Camera: Highlight [Nikon Imaging Cloud] in the network menu and press 2.
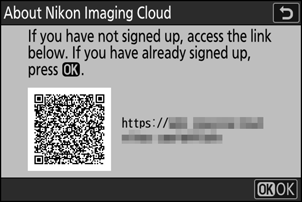
A QR code and URL to access Nikon Imaging Cloud on a computer or smart device will appear.
Camera: When a dialog is displayed as shown, press J to proceed.
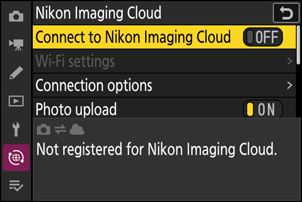
Camera: Select [ON] for [Connect to Nikon Imaging Cloud].
Camera: Highlight [Search for Wi-Fi network] and press J.
The camera will search for networks currently active in the vicinity and list them by name (SSID).
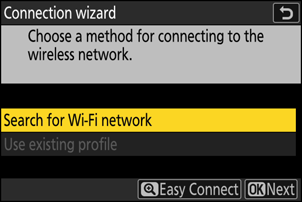
To connect without entering an SSID or encryption key, press X in Step 4. Next, highlight one of the following options and press J. After connecting, proceed to Step 7.
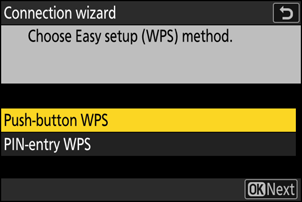
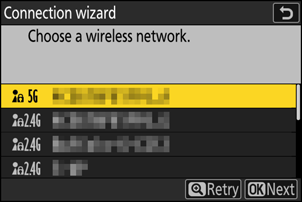
Option Description [Push-button WPS] For routers that support push-button WPS. Press the WPS button on the router and then press the camera J button to connect. [PIN-entry WPS] The camera will display a PIN. Using a computer, enter the PIN on the router. For more information, see the documentation provided with the router. Camera: Choose a network.
- Highlight a network SSID and press J.
- The SSIDs containing characters that cannot be entered on the camera will not be displayed.
- The band on which each SSID operates is indicated by an icon.
- Encrypted networks are indicated by a h icon. If the selected network is encrypted (h), you will be prompted to enter the encryption key. If the network is not encrypted, proceed to Step 8.
- If the desired network is not displayed, press X to search again.
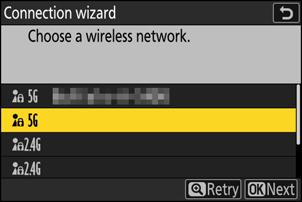
Hidden SSIDs
Networks with hidden SSIDs are indicated by blank entries in the network list.
- To connect to a network with a hidden SSID, highlight a blank entry and press J. Next, press J; the camera will prompt you to provide an SSID.
- Enter the network name and press X. Press X again; the camera will now prompt you to enter the encryption key.
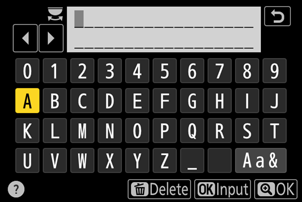
Camera: Enter the encryption key.
- Press J and enter the encryption key for the wireless router.
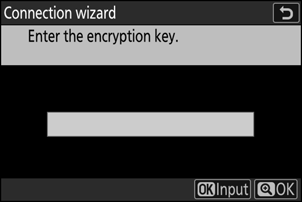
- For more information, see the documentation for the wireless router.
- Press X when entry is complete.
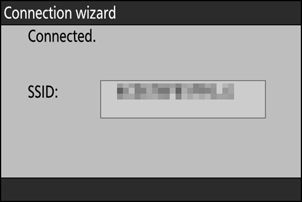
- Press X again to initiate the connection. A message will be displayed for a few seconds when the connection is established.
Camera: Obtain or select an IP address.
Highlight one of the following options and press J.
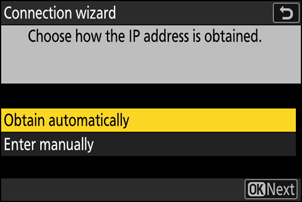
Option Description [Obtain automatically] Select this option if the network is configured to supply the IP address automatically. A “configuration complete” message will be displayed once an IP address has been assigned. [Enter manually] Enter the IP address, sub-net mask, gateway address, and Domain Name Server (DNS) address in that order manually. The items can be entered as follows.
IP address/gateway address/Domain Name Server (DNS):
- Press J; you will be prompted to enter the address.
- Rotate the main command dial to highlight segments.
- Press 4 or 2 to change the highlighted segment and press J to enter changes.
- When all digits have been entered, press X to save changes.
- Press X again to proceed.
Sub-net mask:
To change the highlighted digit, press 1 or 3. Press J to save changes and proceed.
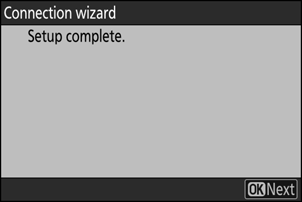
Camera: Press J to proceed when the “configuration complete” message is displayed.
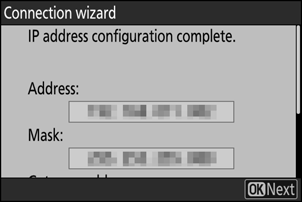
The camera accesses Nikon Imaging Cloud and prepares for connection. If preparation is complete, a QR code and URL to access Nikon Imaging Cloud on a computer or smart device will appear.
Computer/smart device: Click or tap the connect camera button in the Nikon Imaging Cloud home screen.
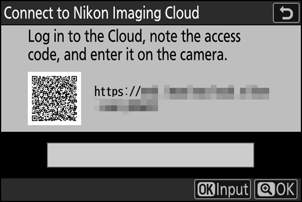
An access code to connect Nikon Imaging Cloud and the camera appears.
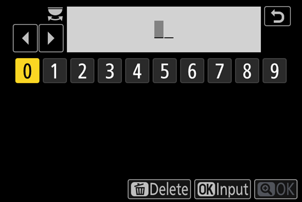
Camera: Enter the access code displayed on the computer/smart device in Step 9.
- Press J to enter the access code.
- Press X when entry is complete.
- Pressing X again connects the camera and Nikon Imaging Cloud and displays a QR code and URL to access to the Nikon Imaging Cloud from a computer or smart device.
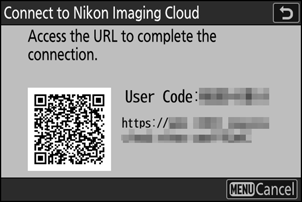
Computer/smart device: Scan the QR code displayed on the camera screen or enter the URL also displayed on the camera into a web browser.
- A connection confirmation screen appears.
- If a user-code entry screen appears on the computer/smart device, enter the user code displayed on the camera screen.
Computer/smart device: Click or tap the [Connect] button.
Nikon Imaging Cloud and the camera are now connected via Wi-Fi. If connection completion screens appear on both the computer/smart device and the camera, you can use the camera with Nikon Imaging Cloud.
For information on using Nikon Imaging Cloud, see online help.