Taking Photographs (b Mode)
Select
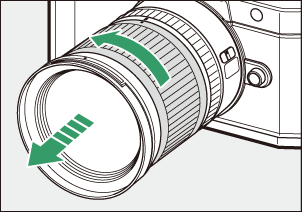
Select photo mode by rotating the
photo/video selector to C.
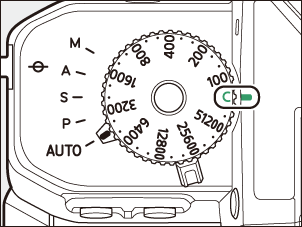
Rotate the mode selector to AUTO (b).

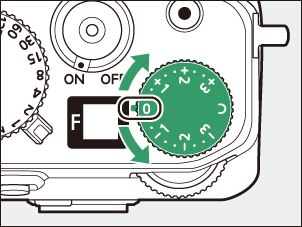
Rotate the ISO sensitivity dial to C.
At the default settings for AUTO (b) mode, the camera will adjust ISO sensitivity automatically to assist exposure control while the ISO sensitivity dial is rotated to C.
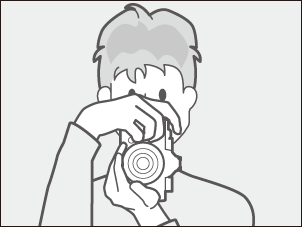
Ready the camera.
Holding the handgrip in your right hand and cradling the camera body or lens with your left, bring your elbows in against the sides of your chest.

Landscape (wide) orientation
Portrait (tall) orientation
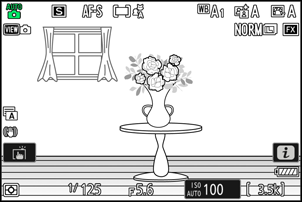
Frame the photograph.
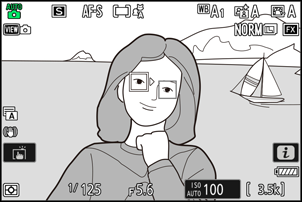
Frame your subject in the shooting display.
Human faces detected by the camera are identified by a white border indicating the focus point. If the camera detects the subject’s eyes, the focus point will instead appear over one or the other of their eyes.
To focus,
press the shutter-release button halfway (i.e., lightly press the shutter-release button, stopping when it is pressed halfway).
- The focus point will be displayed in green when the subject is in focus.
- The AF-assist illuminator may light to assist the focus operation if the subject is poorly lit.

If the camera is unable to focus, the out-of-focus indicator will flash red.
The focus point will turn green if the camera is able to focus after detecting the face or eyes of a human portrait subject. If the camera is unable to focus, the focus point will flash red.

Without lifting your finger from the shutter-release button,
press the button the rest of the way down to take the picture.

You may notice the following in the shooting display. These phenomena will also be visible in any photos taken with the camera:
- flicker or banding in scenes lit by such sources as fluorescent, mercury vapor, or sodium lamps,
- distortion during motion (individual subjects such as trains or cars moving at high speed through the frame may be distorted, or the entire frame may appear distorted when the camera is panned horizontally),
- jagged edges, color fringing, moiré, or bright spots, or
- bright regions or bands in scenes lit by flashing signs and other intermittent light sources or when the subject is briefly illuminated by a strobe or other bright, momentary light source.
- Note that noise (randomly-spaced bright pixels, fog, or lines) and unexpected colors may appear if you use the X button to zoom in on the view through the lens.
- Avoid pointing the camera at the sun or other powerful light sources during shooting. Failure to observe this precaution could result in damage to the camera’s internal circuitry.
The memory card access lamp will light while the photograph is being recorded. Do not open the battery chamber/memory card slot cover or remove the memory card or battery.

You can also take a photograph by touching the monitor. Touch your subject to focus and lift your finger to release the shutter (0 The Touch Shutter).

The Exposure Compensation Dial
Exposure can be adjusted by rotating the exposure compensation dial (0 Choosing a Value Using the Exposure Compensation Dial).
Using Display Zoom in Photo Mode
To zoom in on the display in photo mode (to a maximum of approximately 12×), press the X button.
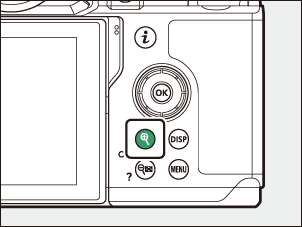
- Use the X and W (Q) buttons to zoom in and out.
- A navigation window showing the area currently visible will appear at the bottom right corner of the display.
- Use the multi selector to scroll to areas of the frame not visible in the monitor.