Editing Movies
Movies can be edited using the following options:
|
Option |
Description |
|
|---|---|---|
|
9 |
[] |
Create a copy from which unwanted footage has been removed. |
|
4 |
[] |
Save a selected frame as a JPEG still. |
|
r |
[] |
Add indices to movies during playback. Indices can be used to quickly locate frames during playback and editing (Adding Indices to Movies). |
|
o |
[] |
Delete indices from movies (Deleting Indices). |
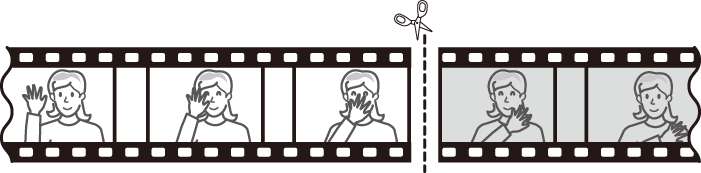
Trimming Movies
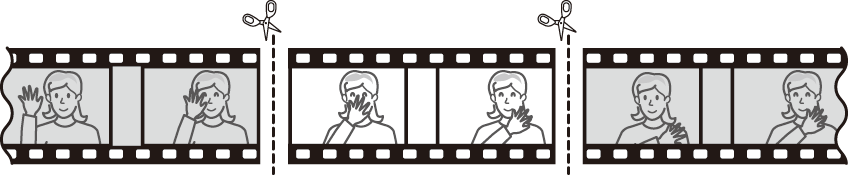
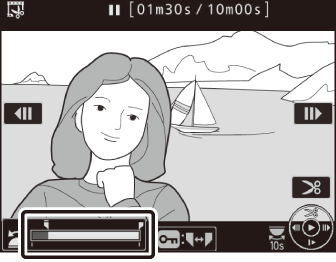
-
Display a movie full frame.
-
Pause the movie on the new opening frame.

-
Press the center of the multi selector to start playback. Press 3 to pause.
-
Your approximate position in the movie can be ascertained from the movie progress bar.
-
Press 4 or 2 or rotate the main command dial to locate the desired frame.
-
-
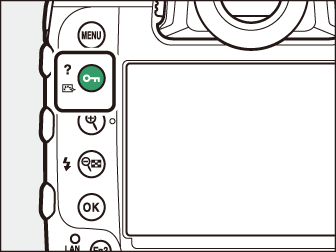
Select [].
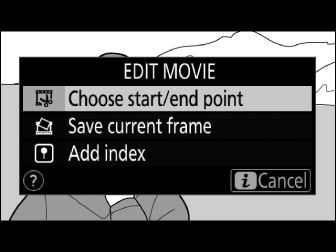
Press the i button, highlight [], and press 2.
-
Choose the start point.
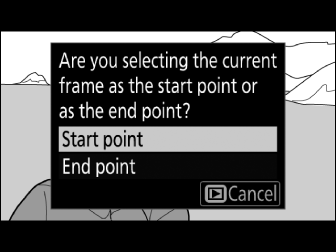
To create a copy that begins from the current frame, highlight [] and press J.
-
Confirm the new start point.
-
If the desired frame is not currently displayed, press 4 or 2 to advance or rewind.
-
To skip to 10 s ahead or back, rotate the main command dial.
-
To skip to the first or last frame, rotate the sub-command dial.
-
-
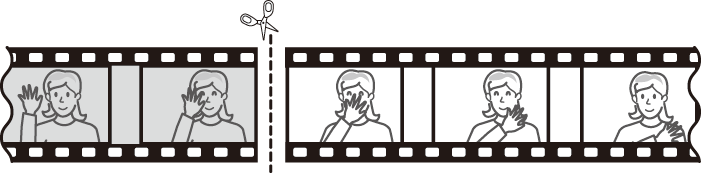
Choose the end point.
Press g (h/Q) to switch to the end-point selection tool (x) and then select the closing frame (x) as described in Step 5.
-
Press 1 to create the copy.
-
Preview the copy.
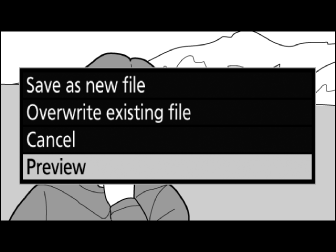
-
To preview the copy, highlight [] and press J (to interrupt the preview and return to the save options menu, press 1).
-
To abandon the current copy and return to Step 5, highlight [] and press J.
-
-
Choose a save option.
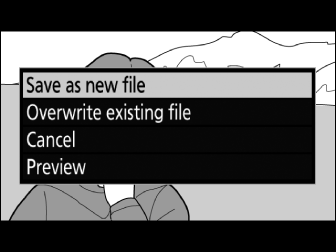
Choose [] to save the edited copy as a new file. To replace the original movie with the edited copy, choose [].
-
Save the copy.
Press J to save the copy.
-
The copy will not be saved if there is insufficient space available on the memory card.
-
Movies less than two seconds long cannot be edited using [].
-
Copies have the same time and date of creation as the original.
-
To remove only the closing footage from a movie, choose [] in Step 4, select the closing frame, and proceed to Step 7 without pressing the g (h/Q) button in Step 6.
-
To remove only the opening footage, proceed to Step 7 without pressing the g (h/Q) button in Step 6.
Movies can also be edited using the [] item in the retouch menu.
Saving Selected Frames as JPEG Stills
-
Pause the movie on the desired frame.
-
Press 3 to pause playback.
-
Press 4 or 2 to locate the desired frame.
-
-
Choose [].
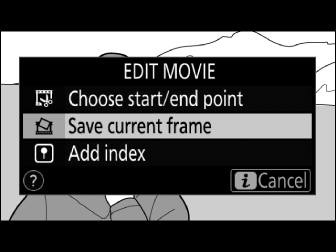
Press the i button, then highlight [] and press J to create a JPEG copy of the current frame.
-
Stills are saved at the dimensions selected for [] in the movie shooting menu when the movie was recorded.
-
They cannot be retouched.
-
Some categories of photo information are not displayed during playback.
Adding Indices to Movies
-
Pause playback on the desired frame.
-
Press 3 to pause playback.
-
Press 4 or 2 to locate the desired frame.
-
-
Select [].
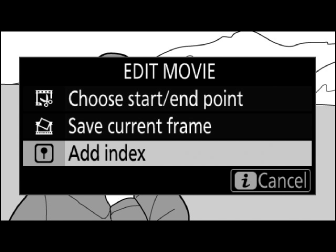
-
Press the i button, highlight [], and press J to add an index.
-
Up to 20 indices can be added to each movie.
-
After rotating the sub-command dial to skip to the desired index (either while playback is in progress or while playback is paused), press the i button to display a menu. The selected index can then be deleted by highlighting [] and pressing J.