Camera Control
Control the camera from a computer running Camera Control Pro 2 (available separately). Photos are saved directly to the computer instead of to the memory card and can consequently be taken even when no memory card inserted in the camera.
-
You will still need to insert a memory card when filming movies.
-
Note that the camera standby timer will not expire when the camera is in camera control mode.
-
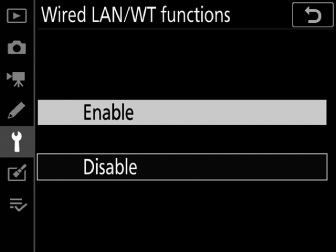
Select [] for [] > [] in the setup menu.
-
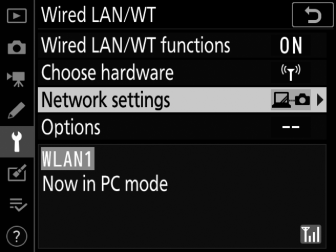
When you press J, the camera will connect using the most recently-used network profile. To connect using a different profile, proceed to Step 2. Otherwise, proceed to Step 3.
-
When a connection is established, the network name will be shown in green in the [] display.
-
If the network name is not displayed in green, connect using the computer’s wireless network settings.
-
-
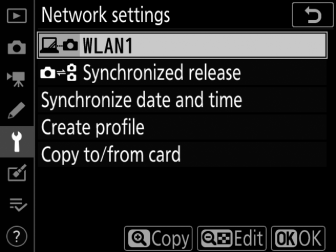
Choose a camera control profile in the [] display.
-
Camera control profiles are indicated by a L icon.
-
When you press J, the camera will exit to the [] display and initiate the connection. The network name will be shown in green in the [] display once a connection is established.
-
If the network name is not displayed in green, connect using the computer’s wireless network settings.
-
-
Launch the copy of Camera Control Pro 2 installed on the host computer.
-
Control the camera using Camera Control Pro 2.
For information on taking pictures using Camera Control Pro 2, see the Camera Control Pro 2 manual or online help.
The [Wired LAN/WT] Status Display
The [] display shows the following:
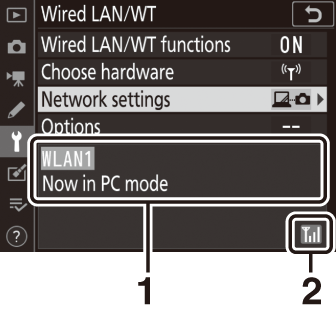
| 1 |
Status: The status of the connection to the host. The profile name is displayed in green. Errors and error codes are also displayed here (Ethernet/Wireless Transmitter Troubleshooting). |
|---|
| 2 |
Signal strength: Ethernet connections are shown by %. When the camera is connected to a wireless network, the icon instead shows the wireless signal strength. |
|---|
Loss of signal while the camera is connected to a wireless network may interrupt upload and disrupt the connection to Camera Control Pro 2. If the camera network indicator flashes amber, disable and re-enable the network connection by selecting first [] and then [] for []. When the signal is re-established, the camera will reconnect to Camera Control Pro 2 and resume upload of any images that have yet to be transferred. Note that upload cannot be resumed if you turn the camera off before transfer is complete.
Do not disconnect the Ethernet cable or wireless transmitter during upload or while the camera is on.
Response may slow on wireless networks.
Connection status is shown by the camera network indicator.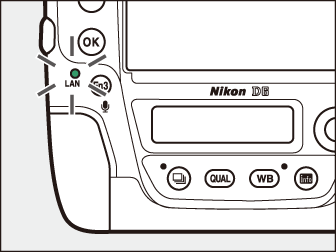
|
Network indicator |
Status |
|---|---|
|
I (off) |
|
|
K (green) |
Waiting to connect. |
|
H (flashes green) |
Connected. |
|
H (flashes amber) |
Error. |
Connection status is also shown in the camera viewfinder. T is displayed when the camera is connected via Ethernet, U when it is connected to a wireless network. The icon will flash if an error occurs.
TCP port 15740 and UDP port 5353 are used for connections to computers. File transfer may be blocked if the server firewall is not configured to allow access to these ports.