Synchronized Release
About Synchronized Release
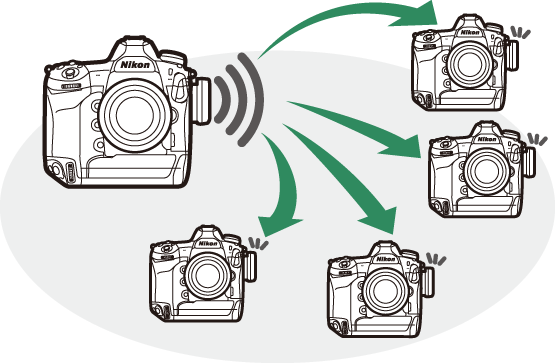
Available with D6 and D5 digital cameras, synchronized release groups a master camera with up to ten remote cameras equipped with WT-6 wireless transmitters (available separately) and synchronizes the shutters on the remote cameras with the release on the master camera.
Using Synchronized Release
Configure all cameras as follows:
-
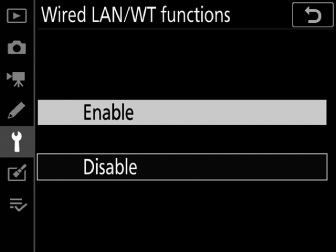
In the setup menu, select [] > [] and choose [].
-
Select [] > [].
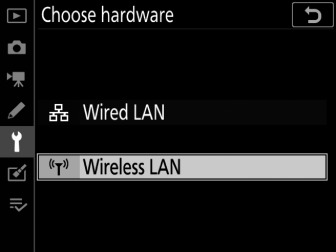
The camera will return to the [] display when you press J.
-
Select [], highlight [], and press W (M).
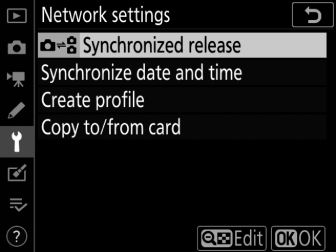
The camera will display synchronized release settings.
-
Adjust synchronized release settings.
Configure the master and remote cameras as described below. Press 4 to return to the previous display when settings are complete.
Option
Description
[]
Enter a group name for the synchronized cameras. Group names can be up to 16 characters long.
-
The master and remote cameras must all be in the same group.
[]
Choose a role for each camera from “master” and “remote”.
-
[]: Pressing the shutter-release button on the master camera releases the shutters on the remote cameras. Each group can have only one master.
-
[]: The shutters on the remote cameras are synchronized with the shutter on the master camera.
[]
Select [] to check whether the remote cameras are ready.
-
This option is available only if [] is selected for [] on the current camera.
-
The camera network indicator will flash amber to warn if the number of cameras returning “ready” is less than that selected for [].
[]
Enter the number ([]–[]) of remote cameras in the group. This option is available only if [] is selected for [].
-
-
Select [], highlight [], and press J.
The camera will connect to the network.
-
Take pictures.
-
Pressing the shutter-release button on the master camera releases the shutters on the remote cameras.
-
Note that the standby timers will not expire automatically when the cameras are in synchronized release mode.
-
If [] is selected for [], warnings will be displayed if any of the remote cameras are not ready.