Basic Setup
The language option in the setup menu is automatically highlighted the first time menus are displayed. Choose a language and set the camera clock.
-
Turn the camera on.
Power switch

-
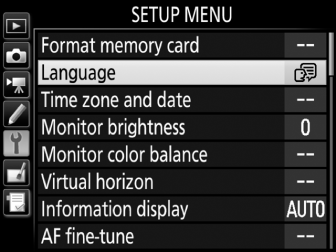
Select Language in the setup menu.
Press the G button to display the camera menus, then highlight Language in the setup menu and press 2. For information on using menus, see “Using Camera Menus” (0 Using Camera Menus).
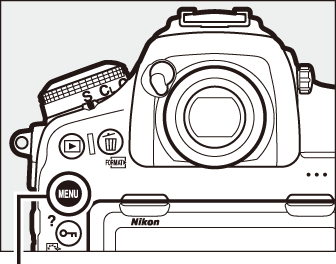
G button
-
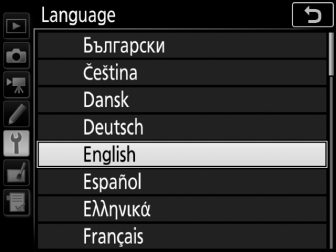
Select a language.
Press 1 or 3 to highlight the desired language and press J.
-
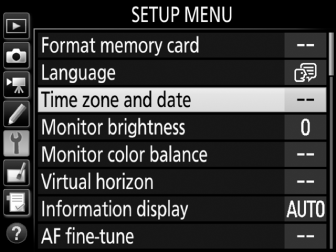
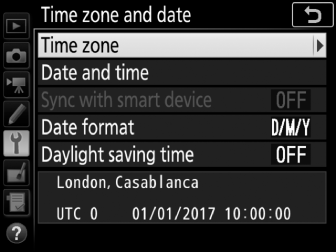
Select Time zone and date.
Select Time zone and date and press 2.
-
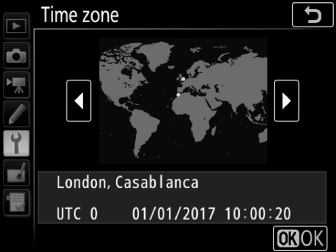
Set time zone.
Select Time zone and press 2. Press 4 or 2 to highlight the local time zone (the UTC field shows the difference between the selected time zone and Coordinated Universal Time, or UTC, in hours) and press J.
-
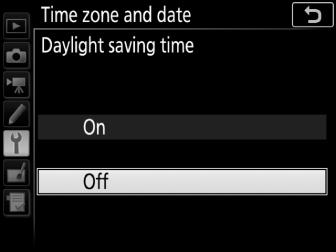
Turn daylight saving time on or off.
Select Daylight saving time and press 2. Daylight saving time is off by default; if daylight saving time is in effect in the local time zone, press 1 to highlight On and press J.
-
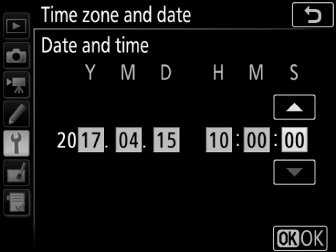
Set the date and time.
Select Date and time and press 2. Press 4 or 2 to select an item, 1 or 3 to change. Press J when the clock is set to the current date and time (note that the camera uses a 24-hour clock).
-
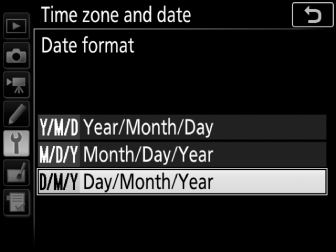
Set date format.
Select Date format and press 2. Press 1 or 3 to choose the order in which the year, month, and day will be displayed and press J.
-
Exit to shooting mode.
Press the shutter-release button halfway to exit to shooting mode.
Connecting to Smart Devices with SnapBridge
Instal the SnapBridge app to your smart device to download pictures from the camera or control the camera remotely. For more information, see the supplied SnapBridge Connection Guide (for D-SLR Cameras).
![]()