Basic Photography and Playback
- The Battery Level and Number of Exposures Remaining
- “Point-and-Shoot” Photography
- Viewing Photographs
The Battery Level and Number of Exposures Remaining
Before taking photographs, check the battery level and number of exposures remaining as described below.
Battery Level
The battery level is shown in the control panel and viewfinder.
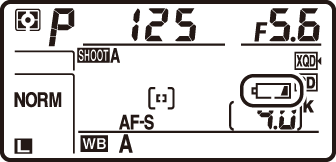
Control panel

Viewfinder
| Control panel | Viewfinder | Description |
|---|---|---|
| L | ― | Battery fully charged. |
| K | ― | Battery partially discharged. |
| J | ― | |
| I | ― | |
| H | d | Low battery. Charge battery or ready spare battery. |
| H (flashes) |
d (flashes) |
Shutter release disabled. Charge or exchange battery. |
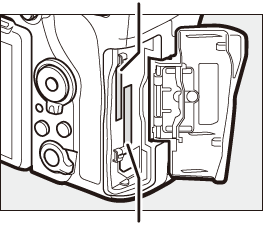
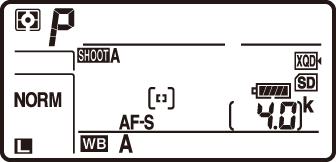
Camera Off Display
If the camera is turned off with a battery and memory card inserted, the memory card icon and number of exposures remaining will be displayed (some memory cards may in rare cases only display this information when the camera is on).

Control panel
Number of Exposures Remaining
The camera has two memory card slots: one for XQD cards and the other for SD cards. When two cards are inserted, the role played by each is determined by the options selected for Primary slot selection and Secondary slot function; when Secondary slot function is set to the default value of Overflow (0 Using Two Memory Cards), the card in the secondary slot will only be used when the card in the primary slot is full.
SD card slot
XQD card slot
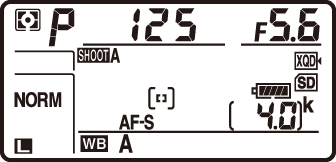
The control panel display shows what cards are currently inserted (the example here shows the display when cards are inserted in both slots). If an error occurs (for example, if the memory card is full or the card in the SD slot is locked), the icon for the affected card will flash (0 Error Messages).
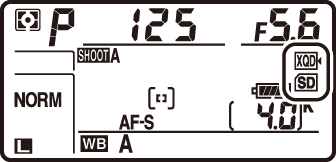
Control panel
The control panel and viewfinder show the number of photographs that can be taken at current settings (values over 1000 are rounded down to the nearest hundred; e.g., values between 4000 and 4099 are shown as 4.0 k).
Number of exposures remaining
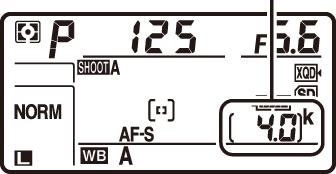
Control panel

Viewfinder
“Point-and-Shoot” Photography
-
Ready the Camera.
When framing photographs in the viewfinder, hold the handgrip in your right hand and cradle the camera body or lens with your left.

When framing photographs in portrait (tall) orientation, hold the camera as shown.

-
Frame the photograph.
At default settings, the camera will focus on the subject in the center focus point. Frame a photograph in the viewfinder with the main subject in the center focus point.
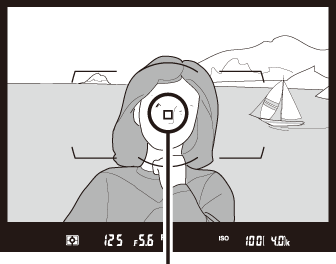
Focus point
-
Press the shutter-release button halfway.
Press the shutter-release button halfway to focus. The in-focus indicator (I) will appear in the viewfinder when the focus operation is complete.
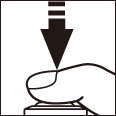
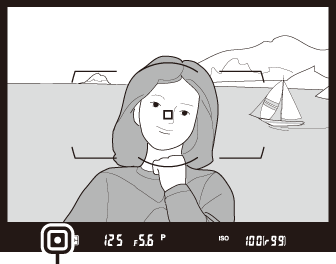
Focus indicator
Viewfinder display Description I Subject in focus. F Focus point is between camera and subject. H Focus point is behind subject. F H
(flashes)Camera unable to focus on subject in focus point using autofocus (0 Getting Good Results with Autofocus). -
Shoot.
Smoothly press the shutter-release button the rest of the way down to take the photograph. The memory card access lamp will light and the photograph will be displayed in the monitor for a few seconds. Do not eject the memory card or remove or disconnect the power source until the lamp has gone out and recording is complete.
Memory card access lamp
The Standby Timer (Viewfinder Photography)
The viewfinder and some control panel displays will turn off if no operations are performed for about six seconds, reducing the drain on the battery. Press the shutter-release button halfway to reactivate the displays.

Exposure meters on
![]()

Exposure meters off
The length of time before the standby timer expires automatically can be adjusted using Custom Setting c2 (Standby timer, 0 Standby Timer).
The Multi Selector
The multi selector can be used to select the focus point while the exposure meters are on (0 Focus Point Selection).
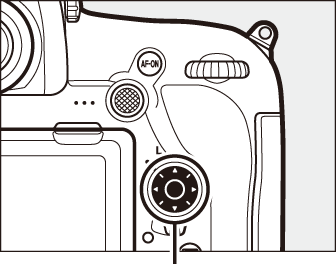
Multi selector
Viewing Photographs
-
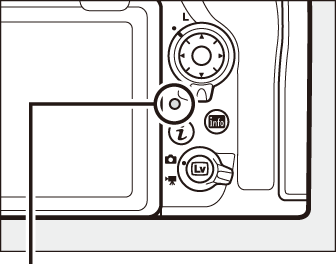
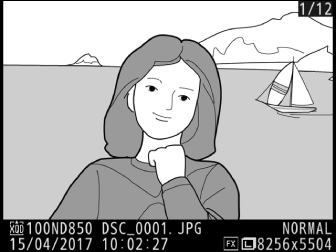
Press the K button.
A photograph will be displayed in the monitor. The memory card containing the picture currently displayed is shown by an icon.
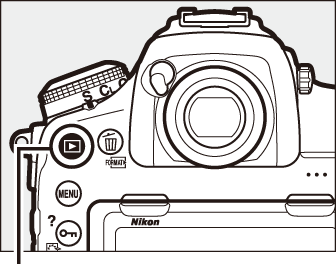
K button
-
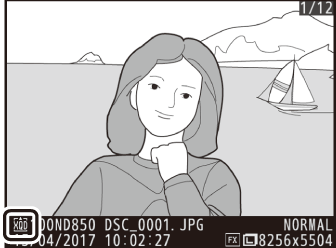
View additional pictures.
Additional pictures can be displayed by pressing 4 or 2 or flicking a finger left or right over the display (0 Using the Touch Screen).
To end playback and return to shooting mode, press the shutter-release button halfway.
Image Review
When On is selected for Image review in the playback menu (0 Image Review), photographs are automatically displayed in the monitor after shooting.
See Also
For information on choosing a memory card for playback, see “Playback Controls” (0 Playback Controls).
Deleting Unwanted Photographs
To delete the photograph currently displayed in the monitor, press the O (Q) button. Note that photographs cannot be recovered once deleted.
-
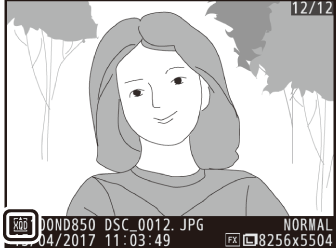
Display the photograph.
Display the photograph you wish to delete as described in “Viewing Photographs” (0 Viewing Photographs). The location of the current image is shown by an icon at the bottom left corner of the display.
-
Delete the photograph.
Press the O (Q) button. A confirmation dialog will be displayed; press the O (Q) button again to delete the image and return to playback. To exit without deleting the picture, press K.
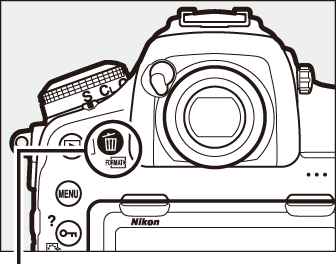
O (Q) button
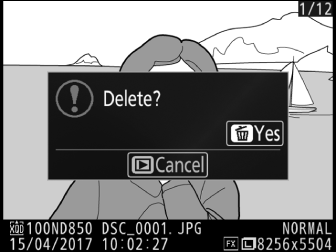
Delete
To delete multiple images or to select the memory card from which images will be deleted, use the Delete option in the playback menu (0 Selected: Deleting Selected Photographs).