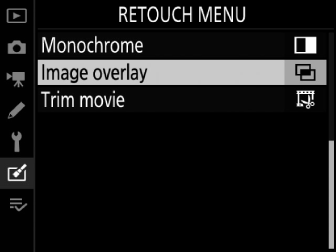
Image overlay combines existing photographs to create a single picture that is saved separately from the originals. One NEF (RAW) image can be overlaid on another using additive blending ([]), or multiple images can be combined using [] or [].
Add
Overlay two NEF (RAW) pictures to create a single new JPEG copy.

-
Select [] in the retouch menu.
Highlight [] and press 2.
-
Select [].
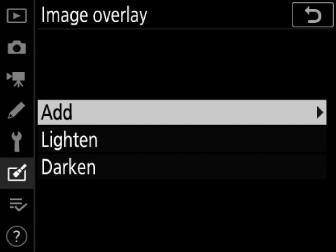
Highlight [] and press 2 to display image overlay options with [] highlighted.
-
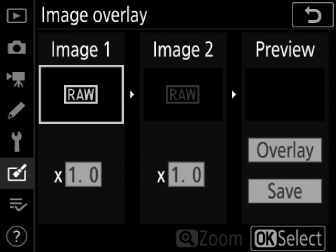
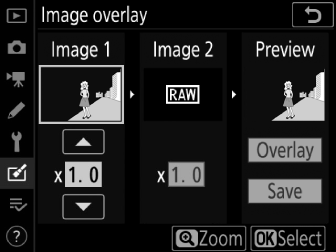
Highlight the first image.
-
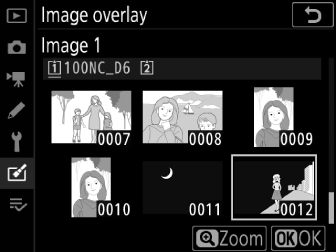
Press J to display a picture-selection dialog listing only NEF (RAW) images, where you can use the multi selector to highlight the first photograph in the overlay.
-
To view the highlighted picture full screen, press and hold the X button.
-
To view pictures in other locations, press W (M) and choose the desired card and folder in the [] dialog.
-
-
Select the first picture.
Press J to select the highlighted photograph and return to the preview display with the selected picture listed under [].
-
Select the second picture.
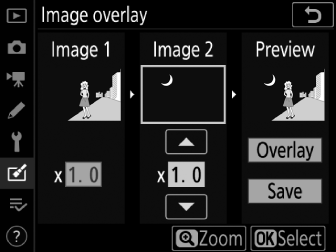
Press 2 and select [], then select the second photo as described in Steps 3 and 4.
-
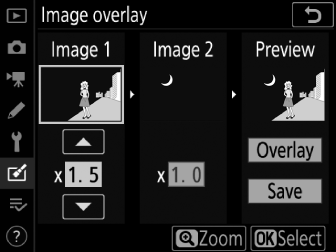
Adjust gain.
-
The overlay of [] and [] can be previewed in the “Preview” column. Highlight [] or [] and optimize exposure for the overlay by pressing 1 or 3 to adjust gain.
-
Choose from values between 0.1 and 2.0 in increments of 0.1.
-
The effects are relative to the default value of 1.0 (no gain). For example, selecting 0.5 halves gain.
-
-
Select the “Preview” column.
-
Press 4 or 2 to place the cursor in the “Preview” column.
-
To proceed without previewing the overlay, highlight [] and press J.
-
-
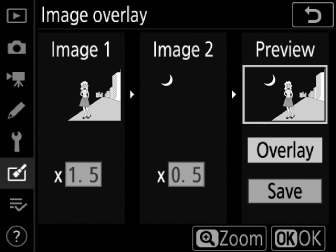
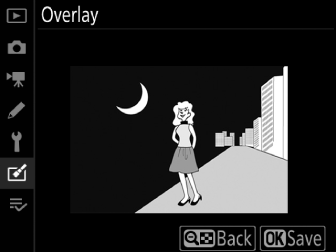
Preview the overlay.
-
To preview the overlay, highlight [] and press J.
-
To select new photos or adjust gain, press W (M). You will be returned to Step 6.
-
-
Save the overlay.
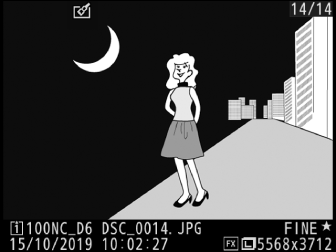
To save the overlay and display the resulting image, press J while the preview is displayed.
-
Colors and brightness in the preview may differ from the final picture.
-
The overlay will include only NEF (RAW) pictures created with this camera. Pictures created with other cameras or in other formats cannot be selected.
-
The overlay is saved at an [] of [].
-
NEF (RAW) pictures can be combined only if they were created with the same options selected for:
-
[] > [],
-
[] > [], and
-
[] > []
-
-
The overlay has the same photo info (including date of recording, metering, shutter speed, aperture, exposure mode, exposure compensation, focal length, and image orientation) and values for white balance and Picture Control as the photograph selected for []. Copyright information, however, is not copied to the new image. The comment is similarly not copied; instead, the comment currently active on the camera, if any, is appended.
Lighten and Darken
The camera compares multiple selected pictures and selects only the brightest or darkest pixels at each point in the image to create a single new JPEG copy.
-
Select [] or [].
After selecting [] in the retouch menu, highlight either [] or [] and press 2.
-
Lighten: The camera compares the pixels in each picture and uses only the brightest.

-
Darken: The camera compares the pixels in each picture and uses only the darkest.

-
-
Choose how pictures are selected.
Option
Description
[]
Select pictures for the overlay one-by-one.
[]
Select two pictures; the overlay will include the two pictures and all images between them.
[]
The overlay will include all pictures in the selected folder.
-
Select the source slot.
-
Highlight the slot with the card containing the desired pictures and press 2.
-
You will not be prompted to select the slot if only one memory card is inserted.
-
-
Select pictures.
If you chose []:
-
Highlight pictures using the multi selector.
-
To view the highlighted picture full screen, press and hold the X button.
-
To select the highlighted picture, press the center of the multi selector. Selected pictures are marked by a $ icon. To deselect the highlighted picture, press the center of the multi selector again; the $ icon will no longer be displayed. The selected pictures will be combined using the option selected in Step 1.
-
Press J to proceed once selection is complete.
If you chose []:
-
All pictures in a range chosen using the multi selector will be combined using the option selected in Step 1.
-
Use the center of the multi selector to select the first and last pictures in the desired range.
-
The first and last pictures are indicated by % icons and the pictures between them by $ icons.
-
You can alter your selection by using the multi selector to highlight different pictures to serve as the first or last frame. Press the g (h/Q) button to choose the current picture as the new start or end point.
-
-
To view the highlighted picture full screen, press and hold the X button.
-
Press J to proceed once selection is complete.
If you chose []:
Highlight the desired folder and press J to overlay all pictures in the folder using the option selected in Step 1.
-
-
Save the overlay.
-
A confirmation dialog will be displayed; highlight [] and press J to save the overlay and display the resulting picture.
-
To interrupt the process before the overlay is complete, press G.
-
-
The overlay will include only pictures created with this camera. Pictures created with other cameras cannot be selected.
-
The overlay will include only pictures created with the same options selected for [] > [].
-
Overlays that include pictures taken at different image quality settings will be saved at the same setting as the image with the highest image quality.
-
Overlays that include NEF (RAW) pictures will be saved at an image quality of [].
-
Overlays that include NEF (RAW) pictures of different sizes will be the same size as the smallest picture.
-
If the overlay includes both NEF (RAW) and JPEG pictures, the NEF (RAW) pictures cannot be smaller than their JPEG counterparts. The overlay will be the same size as the JPEG pictures.