Photo shooting and video recording menu options are stored in one of four banks (banks “A” through “D”) that can be selected using []. With the exceptions noted below, changes to settings made while one bank is selected are not applied to the remaining banks.
-
Changes to the following photo shooting menu settings apply to all banks:
-
[]
-
[] presets
-
[]
-
[]
-
[]
-
[]
-
-
Changes to the following video recording menu setting also apply to all banks:
-
[]
-
-
Shooting menu banks can also be edited via the [] item in the video recording menu. Changes made in the photo shooting menu apply in the video recording menu and vice versa.
The control panel shows the current menu bank (“A”, “B”, “C”, or “D”).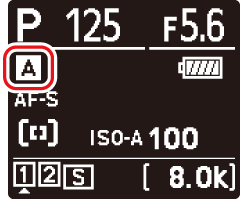
Renaming Shooting Menu Banks
A descriptive caption can be added to the bank name (“A”, “B”, “C”, or “D”) by highlighting the bank, pressing 2, and selecting []. Captions can be up to 20 characters long.
Copying Shooting Menu Banks
To create a copy of a shooting menu bank, highlight the bank, press 2, select [], and choose a destination for the copy.
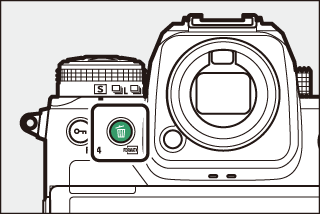
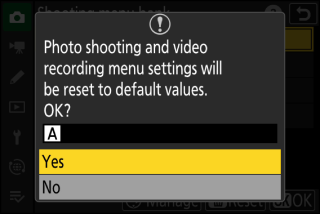
Restoring Default Settings
You can restore default settings for a selected shooting menu bank. To do so, highlight the bank and press O (Q); a confirmation dialog will be displayed. Highlight [] and press J to restore default settings for the selected bank.
|
|
|
-
Shooting menu banks cannot be reset while a multiple exposure is in progress.
-
[] and [] are not reset.