Choosing a Color Temperature
(P, S, A, and M Modes Only)
Follow the steps below to choose a color temperature when K (Choose color temp.) is selected for white balance.
Choose Color Temperature
Note that the desired results will not be obtained with flash or fluorescent lighting. Choose N (Flash) or I (Fluorescent) for these sources. With other light sources, take a test shot to determine if the selected value is appropriate.
The White Balance Menu
Color temperature can be selected using the White balance options in the photo shooting menu. Enter values for the amber–blue and green–magenta axes (0 The White Balance Menu) as described below.
-
Select Choose color temp.
Select White balance in the photo shooting menu, then highlight Choose color temp. and press 2.
-
Select values for amber–blue and green–magenta.
Press 4 or 2 to highlight digits on the amber (A)–blue (B) axis or the green (G)–magenta (M) axis and press 1 or 3 to change.

Value for amber (A)-blue (B) axis
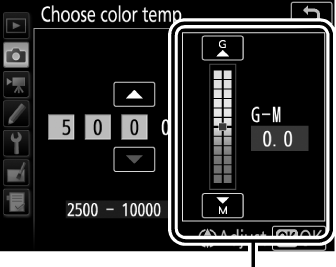
Value for green (G)-magenta (M) axis
-
Press J.
Press J to save changes and return to the shooting menus. If a value other than 0 is selected for the green (G)–magenta (M) axis, an asterisk (“E”) will be displayed next to the K icon.
The L (U) Button
When K (Choose color temp.) is selected, the L (U) button can be used to select the color temperature, although only for the amber (A)–blue (B) axis. Press the L (U) button and rotate the sub-command dial until the desired value is displayed (adjustments are made in mireds; 0 “Mired”). To enter a color temperature directly, press the L (U) button and press 4 or 2 to highlight a digit and press 1 or 3 to change.
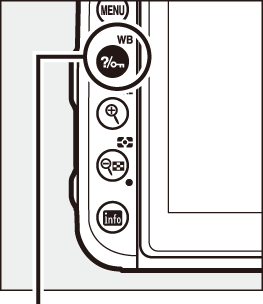
L (U) button
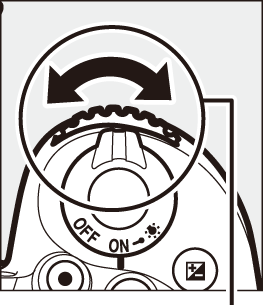
Sub-command dial

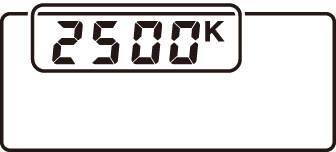
Control panel
Live View
In live view, the selected value is displayed in the monitor.