Image Area
Choose an image area from DX (24×16) and 1.3× (18×12).
Viewfinder display
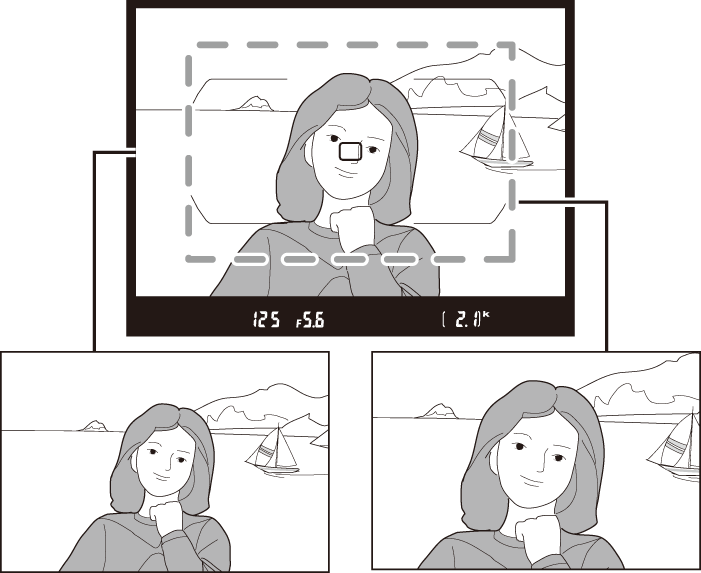
| Photo with DX image area (24×16) | Photo with image area of 1.3× (18×12) |
Image Area
The selected option is shown in the display.
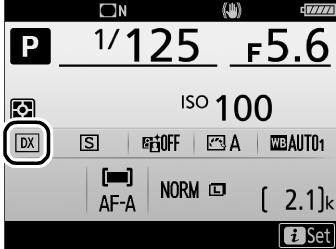
Information display
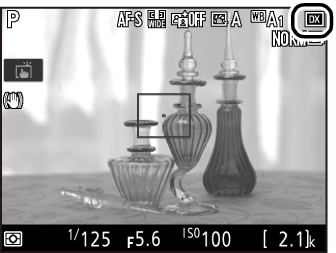
Shooting display
The Viewfinder Display
A s icon is displayed in the viewfinder when the 1.3× DX crop is selected.
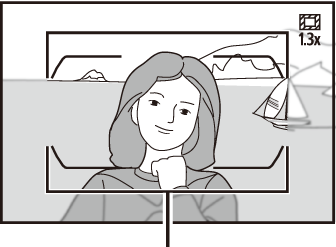
1.3× DX crop
See Also
For information on:
- The crops available for movie recording, see “The Movie Crop” (0 The Movie Crop).
- The number of pictures that can be stored at different image area settings, see “Memory Card Capacity” (0 Memory Card Capacity).
The image area can be selected using the Choose image area option in the photo shooting menu or by pressing a control and rotating a command dial.
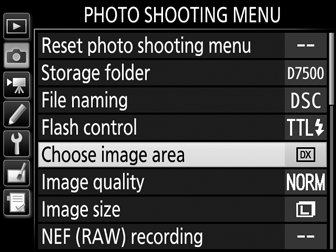
The Choose Image Area Menu
-
Select Choose image area.
Highlight Choose image area in the photo shooting menu and press 2.
-
Adjust settings.
Choose an option and press J. The selected crop is displayed in the viewfinder (0 The Viewfinder Display).

Image Size
Image size varies with the option selected for image area (0 Image Size).
Camera Controls
-
Assign image area selection to a camera control.
Use Custom Setting f1 (Custom control assignment, 0 Custom Control Assignment) to assign Choose image area to a control.
-
Use the selected control to choose an image area.
The image area can be selected by pressing the selected control and rotating the main or sub-command dial until the desired crop is displayed in the viewfinder (0 The Viewfinder Display).
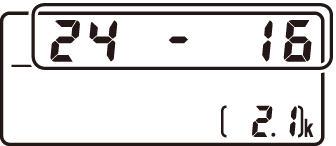
The option currently selected for image area can be viewed by pressing the control to display the image area in the control panel or information display. DX format is displayed as “24 - 16” and 1.3× as “18 - 12”.