Preserving Detail in Highlights and Shadows
(P, S, A, and M Modes Only)
Active D-Lighting
Active D-Lighting preserves details in highlights and shadows, creating photographs with natural contrast. Use for high contrast scenes, for example when photographing brightly lit outdoor scenery through a door or window or taking pictures of shaded subjects on a sunny day. It is most effective when used with matrix metering (0 Metering).
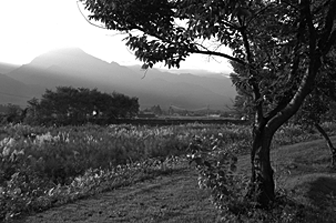
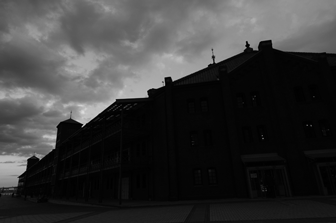
Active D-Lighting off
![]()
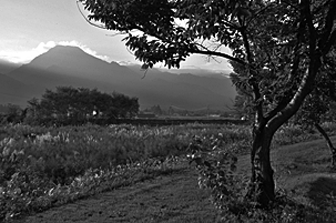
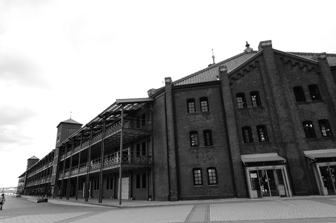
Active D-Lighting: Y Auto
“Active D-Lighting” versus “D-Lighting”
The Active D-Lighting options in the photo and movie shooting menus adjust exposure before shooting to optimize the dynamic range, while the D-Lighting option in the retouch menu (0 D-Lighting) brightens shadows in images after shooting.
To use Active D-Lighting:
-
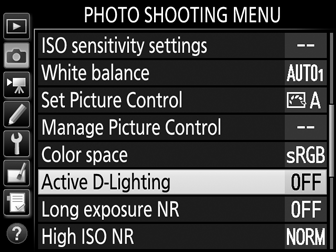
Select Active D-Lighting.
Highlight Active D-Lighting in the photo shooting menu and press 2.
-
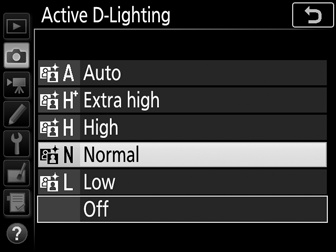
Choose an option.
Highlight the desired option and press J. If Y Auto is selected, the camera will automatically adjust Active D-Lighting according to shooting conditions (in mode M, however, Y Auto is equivalent to Q Normal).
Active D-Lighting
Noise (randomly-spaced bright pixels, fog, or lines) may appear in photographs taken with Active D-Lighting. Uneven shading may be visible with some subjects. Active D-Lighting does not apply at high ISO sensitivities (Hi 0.3–Hi 5).
Active D-Lighting and Movies
If Same as photo settings is selected for Active D-Lighting in the movie shooting menu and Auto is selected in the photo shooting menu, movies will be shot at a setting equivalent to Normal. Active D-Lighting does not apply at a frame size of 3840 × 2160.
See Also
For information on varying Active D-Lighting over a series of shots, see “Bracketing” (0 ADL Bracketing).
High Dynamic Range (HDR)
Used with high-contrast subjects, High Dynamic Range (HDR) preserves details in highlights and shadows by combining two shots taken at different exposures. HDR is most effective when used with matrix metering (0 Metering; with spot or center-weighted metering and a non-CPU lens, a strength of Auto is equivalent to Normal). It can not be used to record NEF (RAW) images. Flash lighting, bracketing (0 Bracketing), multiple exposure (0 Multiple Exposure), and time lapse (0 Time-Lapse Movie) can not be used while HDR is in effect and shutter speeds of A and % are not available.
First exposure (darker)
+
Second exposure (brighter)
![]()
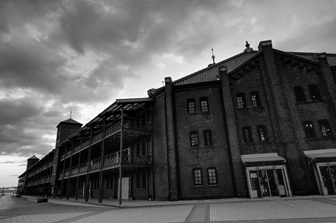
Combined HDR image
-
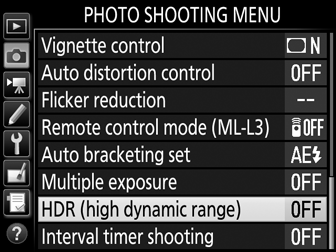
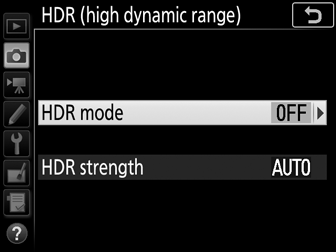
Select HDR (high dynamic range).
Highlight HDR (high dynamic range) in the photo shooting menu and press 2.
-
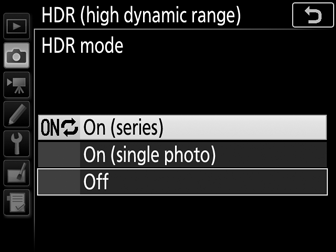
Select a mode.
Highlight HDR mode and press 2.
Highlight one of the following and press J.
- To take a series of HDR photographs, select 6 On (series). HDR shooting will continue until you select Off for HDR mode.
- To take one HDR photograph, select On (single photo). Normal shooting will resume automatically after you have created a single HDR photograph.
- To exit without creating additional HDR photographs, select Off.
If On (series) or On (single photo) is selected, an l icon will be displayed in the viewfinder.

-
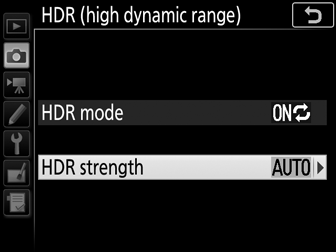
Choose the HDR strength.
To choose the difference in exposure between the two shots (HDR strength), highlight HDR strength and press 2.
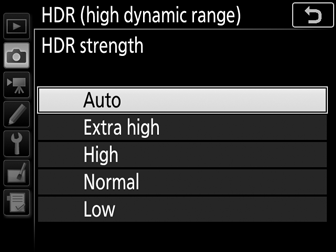
Highlight the desired option and press J. If Auto is selected, the camera will automatically adjust HDR strength to suit the scene.
-
Frame a photograph, focus, and shoot.
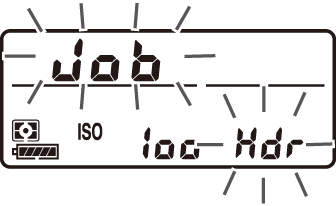
The camera takes two exposures when the shutter-release button is pressed all the way down. l j will flash in the control panel and l l in the viewfinder while the images are combined; no photographs can be taken until recording is complete. Regardless of the option currently selected for release mode, only one photograph will be taken each time the shutter-release button is pressed.

If On (series) is selected, HDR will only turn off when Off is selected for HDR mode; if On (single photo) is selected, HDR turns off automatically after the photograph is taken. The l icon clears from the display when HDR shooting ends.
Framing HDR Photographs
The edges of the image will be cropped out. The desired results may not be achieved if the camera or subject moves during shooting. Use of a tripod is recommended. Depending on the scene, the effect may not be visible, shadows may appear around bright objects, or halos may appear around dark objects. Uneven shading may be visible with some subjects.
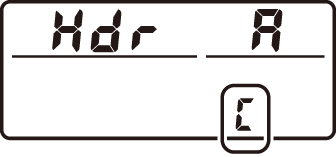
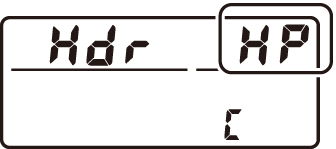
The BKT Button
If HDR (high dynamic range) is selected for Custom Setting f1 (Custom control assignment) > BKT button + y (0 Custom Control Assignment), you can select the HDR mode by pressing the BKT button and rotating the main command dial and the strength by pressing the BKT button and rotating the sub-command dial. The mode and strength are shown in the control panel: the icons representing the mode are 5 for Off, B for On (single photo), and 6 for On (series), while those representing strength are & for Auto, 7 for Extra high, 8 for High, 9 for Normal, and ! for Low.
Interval Timer Photography
If On (series) is selected for HDR mode before interval timer shooting begins, the camera will continue to shoot HDR photographs at the selected interval (if On (single photo) is selected, interval timer shooting will end after a single shot).