Preset Manual
(P, S, A, and M Modes Only)
Preset manual is used to record and recall custom white balance settings for shooting under mixed lighting or to compensate for light sources with a strong color cast. The camera can store up to six values for preset manual white balance in presets d-1 through d-6. Two methods are available for setting preset manual white balance:
Viewfinder Photography
-
Light a reference object.
Place a neutral gray or white object under the lighting that will be used in the final photograph. In studio settings, a standard gray panel can be used as a reference object. Note that exposure is automatically increased by 1 EV when measuring white balance; in mode M, adjust exposure so that the exposure indicator shows ±0 (0 The Exposure Indicators).
-
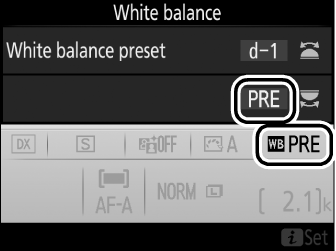
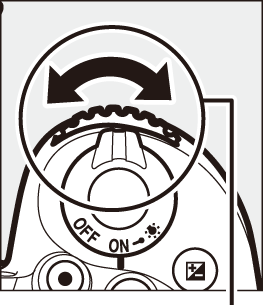
Set white balance to L (Preset manual).
Press the L (U) button and rotate the main command dial until L is displayed in the information display.
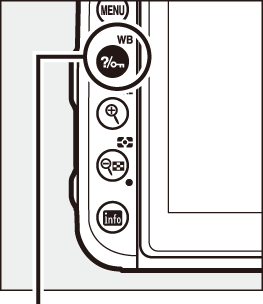
L (U) button
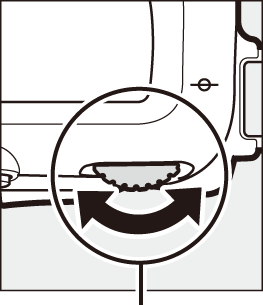
Main command dial
-
Select a preset.
Press the L (U) button and rotate the sub-command dial until the desired white balance preset (d-1 to d-6) is displayed in the information display.
L (U) button
Sub-command dial
-
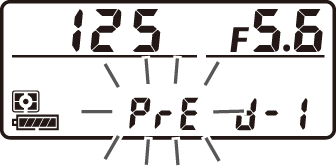
Select direct measurement mode.
Release the L (U) button briefly and then press the button until D starts to flash in the control panel and viewfinder.

-
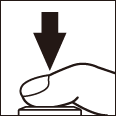
Measure white balance.
In the few seconds before the indicators stop flashing, frame the reference object so that it fills the viewfinder and press the shutter-release button all the way down. The camera will measure a value for white balance and store it in the preset selected in Step 3. No photograph will be recorded; white balance can be measured accurately even when the camera is not in focus.
-
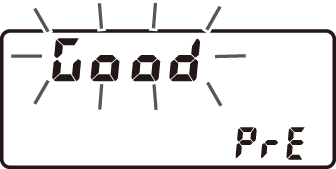
Check the results.
If the camera was able to measure a value for white balance, C will flash in the control panel, while the viewfinder will show a flashing a. Press the shutter-release button halfway to exit to shooting mode.

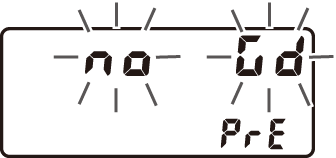
If lighting is too dark or too bright, the camera may be unable to measure white balance. A flashing b a will appear in the control panel and viewfinder. Press the shutter-release button halfway to return to Step 5 and measure white balance again.

Measuring Preset Manual White Balance (Viewfinder Photography)
Preset manual white balance can not be measured during time-lapse movie recording or while you are shooting an HDR photograph (0 High Dynamic Range (HDR)) or multiple exposure (0 Multiple Exposure).
Protected Presets
If the current preset is protected (0 Protect), 3 will flash in the control panel and viewfinder if you attempt to measure a new value.
Direct Measurement Mode
If no operations are performed during viewfinder photography while the displays are flashing, direct measurement mode will end in the time selected for Custom Setting c2 (Standby timer, 0 Standby Timer).
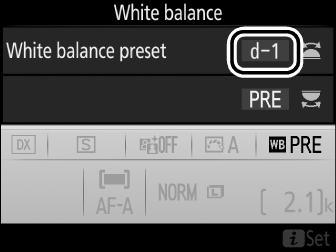
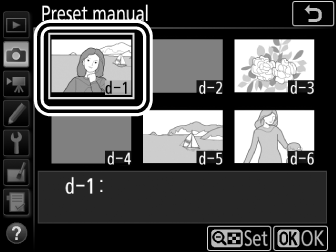
Selecting a Preset
Selecting Preset manual for the White balance option in the photo shooting menu displays white balance presets; highlight a preset and press J. If no value currently exists for the selected preset, white balance will be set to 5200 K, the same as Direct sunlight.
Live View (Spot White Balance)
During live view, white balance can be measured in a selected area of the frame, eliminating the need to prepare a reference object or change lenses during telephoto photography.
-
Press the a button.
The mirror will be raised and the view through the lens will be displayed in the camera monitor.
-
Set white balance to L (Preset manual).
Press the L (U) button and rotate the main command dial until L is displayed in the monitor.
L (U) button
Main command dial

Monitor
-
Select a preset.
Press the L (U) button and rotate the sub-command dial until the desired white balance preset (d-1 to d-6) is displayed in the monitor.
L (U) button
Sub-command dial
-
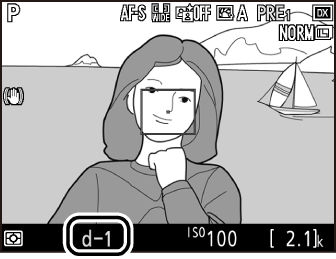
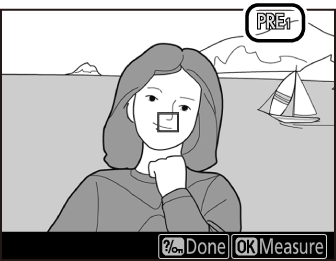
Select direct measurement mode.
Release the L (U) button briefly and then press the button until the L icon in the monitor starts to flash. A spot white balance target (r) will be displayed at the selected focus point.
-
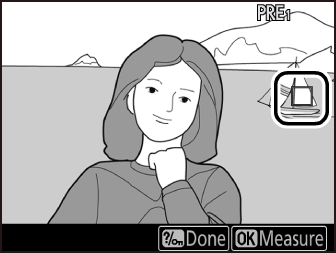
Position the target over a white or grey area.
While L flashes in the display, use the multi selector to position the r over a white or grey area of the subject. To zoom the area around the target in for more precise positioning, press the X (T) button. You can also measure white balance anywhere in the frame by tapping your subject in the monitor, in which case there is no need to press the J or shutter-release button as described in Step 6.
-
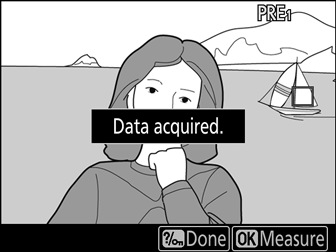
Measure white balance.
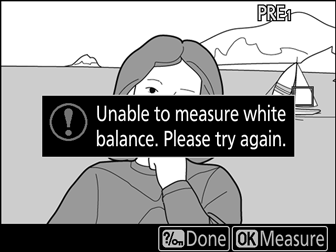
Press J or press the shutter-release button all the way down to measure white balance. The time available to measure white balance is that selected for Custom Setting c4 (Monitor off delay) > Live view (0 Monitor off Delay).
If the camera is unable to measure white balance, a message will be displayed. Choose a new white balance target and repeat the process from Step 5.
-
Exit direct measurement mode.
Press the L (U) button to exit direct measurement mode.
White balance presets can be viewed by selecting Preset manual for White balance in the photo or movie shooting menu. The position of the targets used to measure preset white balance is displayed on presets recorded during live view.

Measuring Preset Manual White Balance (Live View)
Preset manual white balance can not be set while an HDR exposure is in progress (0 High Dynamic Range (HDR)).
Managing Presets
Copying White Balance from a Photograph
Follow the steps below to copy a value for white balance from an existing photograph to a selected preset.
-
Select Preset manual.
Select White balance in the photo shooting menu, then highlight Preset manual and press 2.

-
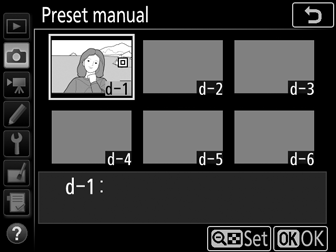
Select a destination.
Highlight the destination preset (d-1 to d-6) and press W (Z).
-
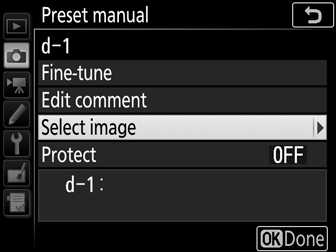
Choose Select image.
Highlight Select image and press 2.
-
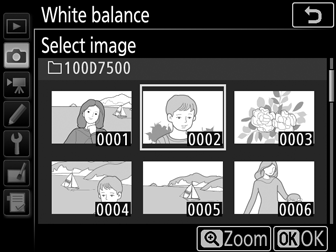
Highlight a source image.
Highlight the source image. To view the highlighted image full frame, press and hold the X (T) button.
-
Copy white balance.
Press J to copy the white balance value for the highlighted photograph to the selected preset. If the highlighted photograph has a comment (0 Image Comment), the comment will be copied to the comment for the selected preset.
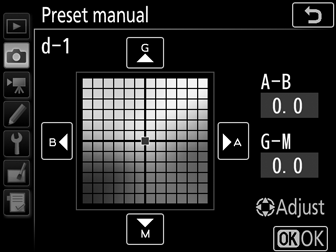
Fine-Tuning Preset Manual White Balance
The selected preset can be fine-tuned by selecting Fine-tune and adjusting white balance as described in “Fine-Tuning White Balance” (0 Fine-Tuning White Balance).
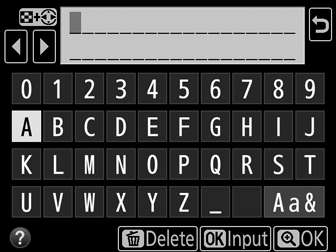
Edit Comment
To enter a descriptive comment of up to 36 characters for the current white-balance preset, select Edit comment in the preset manual white balance menu and enter a comment.
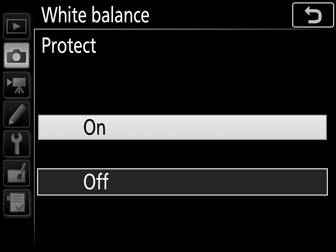
Protect
To protect the current white-balance preset, select Protect in the preset manual white balance menu, then highlight On and press J. Protected presets can not be modified and the Fine-tune and Edit comment options can not be used.