Pairing and Connecting
Before pairing, confirm that there is space available on the camera memory card. To prevent unexpected interruptions, you should also check that the camera battery is fully charged.
An Android smart device is used for illustrative purposes in the instructions that follow.
-
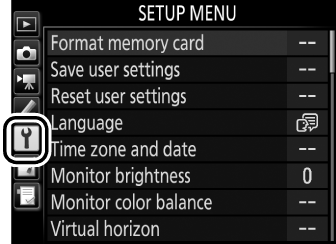
Camera: Press the G button and select the B icon to display the setup menu.
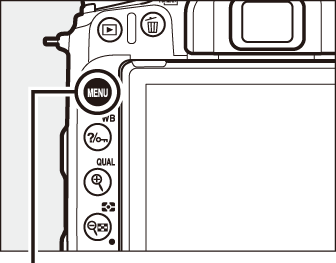
G button


-
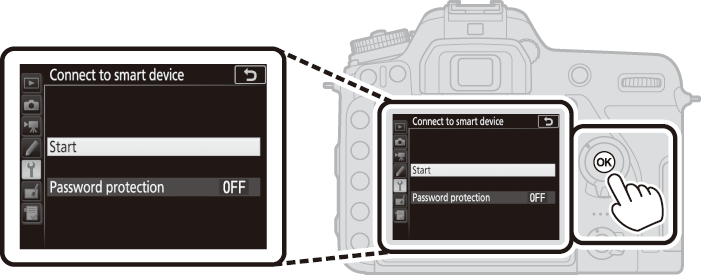
Camera: Select Connect to smart device in the setup menu, then highlight Start and press J.
-
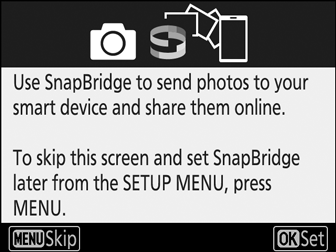
Camera: Press J when the following message is displayed.
-
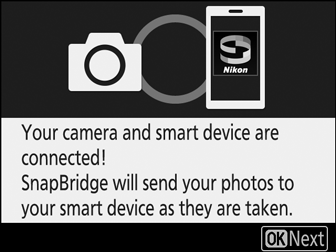
Camera: Confirm that the camera displays the message shown at right and ready the smart device.

-
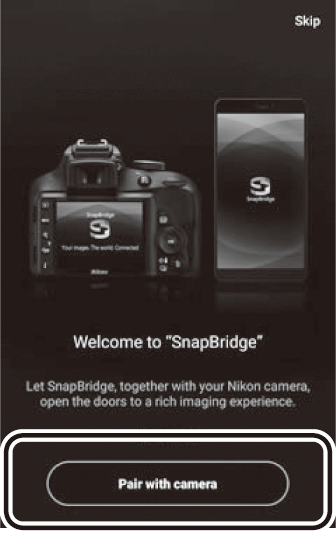
Smart device: Launch the SnapBridge app and tap Pair with camera.
If prompted to choose a camera, tap the camera name.
-
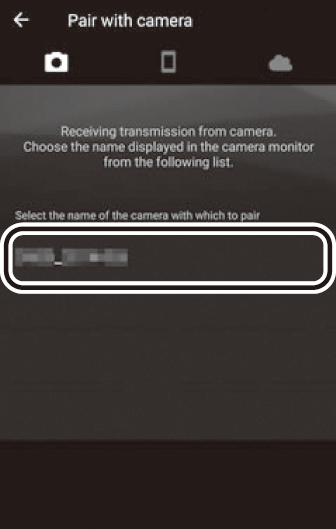
Smart device: Tap the camera name in the “Pair with camera” dialog.
Users who are pairing a camera with an iOS device for the first time will first be presented with pairing instructions; after reading the instructions, scroll to the bottom of the display and tap Understood. If you are then prompted to choose an accessory, tap the camera name again (there may be some delay before the camera name is displayed).
-
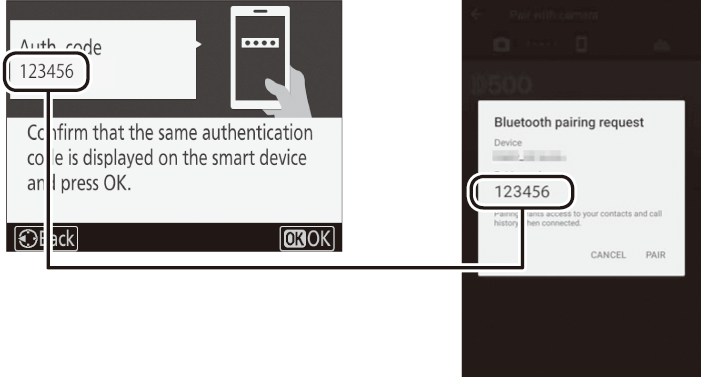
Camera/smart device: Confirm that the camera and smart device display the same six-digit number.
Some versions of iOS may not display a number; if no number displayed, proceed to Step 8.
-
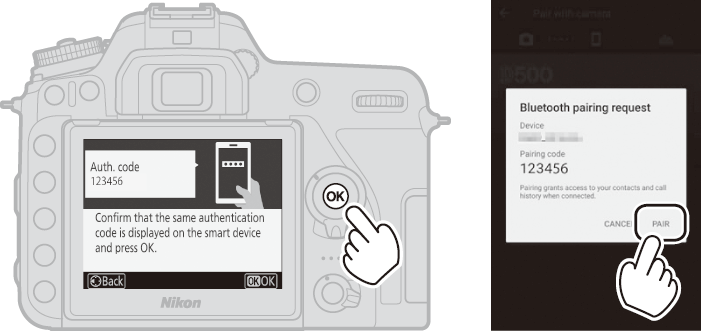
Camera/smart device: Press J on the camera and tap PAIR on the smart device (the display varies with the device and operating system).
-
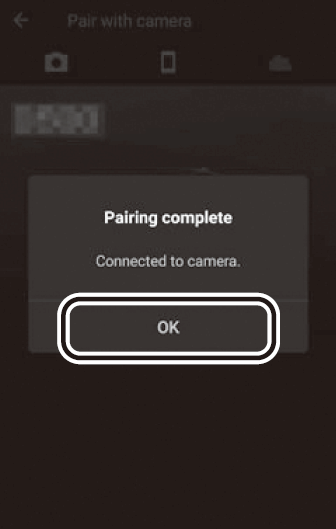
Camera/smart device: Complete pairing.
Camera: Press J when the message at right is displayed.
Smart device: Tap OK when the message at right is displayed.
-
Camera: Follow the on-screen instructions to complete setup.
- To allow the camera to add location data to photos, select Yes in response to “Download location data from smart device?” and then enable location services on the smart device and enable Auto link options > Synchronize location data in the SnapBridge app
 tab.
tab. - To synchronize the camera clock with the time provided by the smart device, select Yes in response to “Sync clock with smart device?” and then enable Auto link options > Synchronize clocks in the SnapBridge app tab.
- To allow the camera to add location data to photos, select Yes in response to “Download location data from smart device?” and then enable location services on the smart device and enable Auto link options > Synchronize location data in the SnapBridge app
The smart device and camera are now connected. Any pictures you take with the camera will automatically be uploaded to the smart device.