Create a copy in which only selected hues appear in color.
-
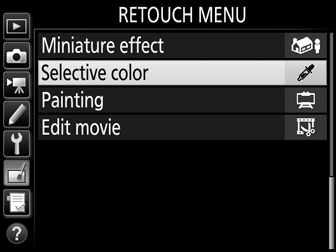
Select Selective color.
Highlight Selective color in the retouch menu and press 2 to display a picture selection dialog.
-
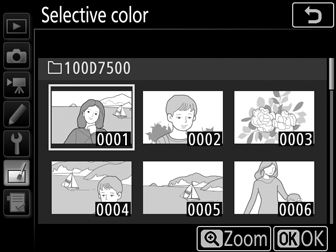
Select a photograph.
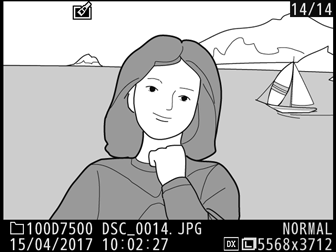
Use the multi selector to highlight a photograph (to view the highlighted photograph full frame, press and hold the X/T button). Press J to select the highlighted photograph and proceed to the next step.
-
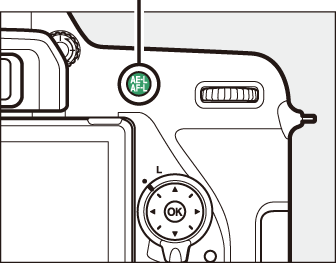
Select a color.
Use the multi selector to position the cursor over an object and press the A AE-L/AF-L button to select the color of the object as one that will remain in the final copy (the camera may have difficulty detecting unsaturated colors; choose a saturated color). To zoom in on the picture for precise color selection, press X (T). Press W (Z) to zoom out.
A AE-L/AF-L button
Selected color

-
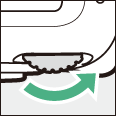
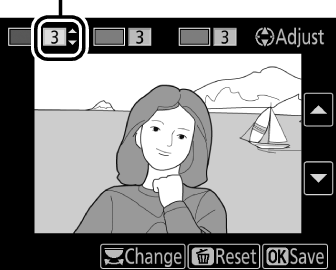
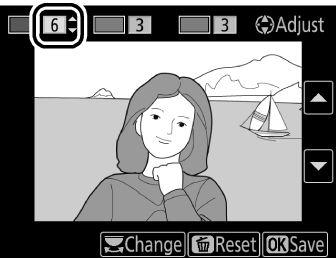
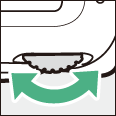
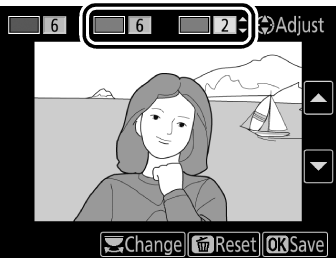
Highlight the color range.
Rotate the main command dial to highlight the color range for the selected color.
Color range
-
Choose the color range.
Press 1 or 3 to increase or decrease the range of similar hues that will be included in the final photograph. Choose from values between 1 and 7; note that higher values may include hues from other colors. The effect can be previewed in the edit display.
-
Select additional colors.
To select additional colors, rotate the main command dial to highlight another of the three color boxes at the top of the display and repeat Steps 3–5 to select another color. Repeat for a third color if desired. To deselect the highlighted color, press O (Q); to remove all colors, press and hold O (Q). A confirmation dialog will be displayed; select Yes.
-
Save the edited copy.
Press J to save the retouched copy.