
Recording Videos (b Mode)
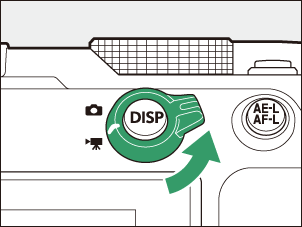
Select video mode by rotating the
photo/video selector to 1.Note that optional flash units cannot be used when the camera is in video mode.
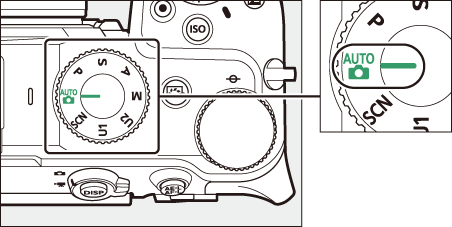
Rotate the mode dial to AUTO (b).
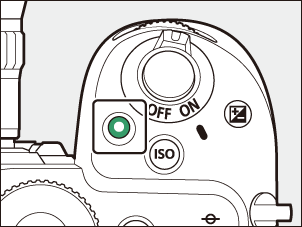
Press the
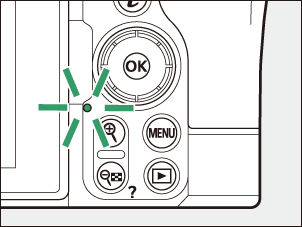
video-record button to start recording.When recording starts, the camera will emit a start sound and the REC lamp will light.
A recording indicator will be displayed and the borders of the shooting display will turn red. The display also shows the time remaining, or in other words the approximate amount of new footage that can be recorded to the memory card.
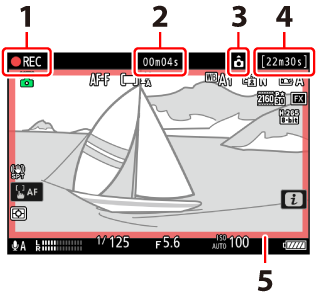
- Recording indicator
- Video recording time (length of footage recorded)
- Camera orientation information
- Available recording time
- Recording indicator (red border)
- Sound is recorded via the
built-in microphone . Do not cover the microphone during recording. - You can also focus by tapping your subject in the monitor.
Press the video-record button again to end recording.
When recording ends, the camera will emit a stop sound and the REC lamp will turn off.
The memory card access lamp will light while the video is being recorded. Do not remove the memory card or battery.
A 0 icon indicates that videos cannot be recorded.
The REC lamp will flash as follows if the video recording may be interrupted.
Behavior Status Flashes slowly The memory card is running out of available recording time. Flashes twice rapidly (repeatedly) Low battery in video mode. Flashes four times rapidly (repeatedly) High internal camera temperature in video mode. - Adjust the brightness of the REC lamp using the [REC lamp brightness] item in the setup menu. Select [Off] for [Video recording] to prevent the REC lamp light from appearing in the video.
- Video recording will end automatically if:
- the maximum length is reached,
- the battery is exhausted,
- you choose a different shooting mode,
- you switch modes using the photo/video selector,
- the lens is removed, or
- the camera’s internal temperature rises.
- Sounds made by the camera may be audible in footage recorded:
- during autofocus,
- during vibration reduction,
- when power aperture is used, or
- when power zoom is used.
If the camera becomes hot, a high-temperature warning (K) may appear in the shooting display. Note that the camera body and battery may be hot while the high-temperature warning (K) is displayed.
- You may notice the following in the shooting display. These phenomena will also be visible in any footage recorded with the camera:
- flicker or banding in scenes lit by such sources as fluorescent, mercury vapor, or sodium lamps,
- distortion during motion (individual subjects such as trains or cars moving at high speed through the frame may be distorted, or the entire frame may appear distorted when the camera is panned horizontally),
- jagged edges, color fringing, moiré, or bright spots,
- bright regions or bands in scenes lit by flashing signs and other intermittent light sources or when the subject is briefly illuminated by a strobe or other bright, momentary light source, or
- flicker when power aperture is used during video recording.
- Note that noise (randomly-spaced bright pixels, fog, or lines) and unexpected colors may appear if you use the X button to zoom in on the view through the lens.
- When recording, avoid pointing the camera at the sun or other powerful light sources. Failure to observe this precaution could result in damage to the camera’s internal circuitry.
Using Display Zoom in Video Mode
The X button can also be used to zoom in on the display in video mode (0Using Zoom in Photo Mode).
- Press X during recording to zoom in 50%, 100% (1 : 1), 200%, or 400%. To zoom out, press W (Q).
- Zoom is not available during RAW recording (0RAW Video).
- When viewing videos, you can zoom in on the current frame when playback is paused.