
The i Button (i Menu)
For quick access to frequently-used settings, press the
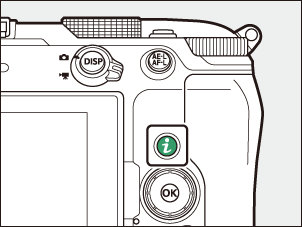
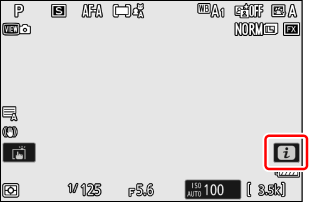
i Menu
The i menu offers a list of the main function settings of the camera so you can change the setting details.
- Different menus are displayed in photo, video, and playback modes.
- The items displayed in the i menu in the photo or video mode can be changed by using Custom Setting f1 or g1 [Customize i menu] (0Customizing the i Menu).
- Options can be viewed by tapping items in the display or by highlighting items and pressing J; selections can then be made using the multi selector.
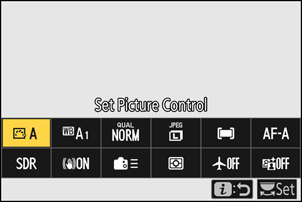
Items for which the camera displays a command dial guide can be adjusted by highlighting them in the i menu and rotating a command dial. In some cases, adjustments can be made using both the main and sub-command dials.
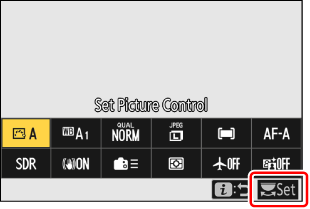
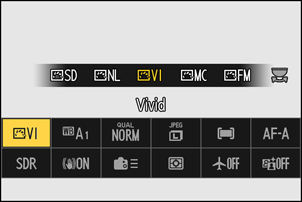
Some items and menu options may be unavailable depending on camera status. Unavailable items are displayed in gray.
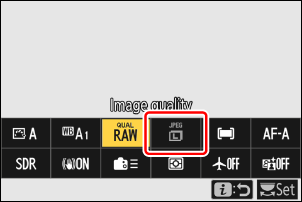
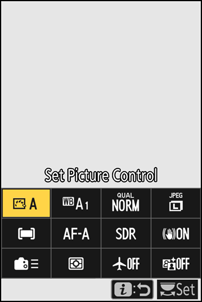
The Still Photography i Menu
Pressing the i button in photo mode displays the items listed below. Highlight the desired item using the multi selector and press J to view options.
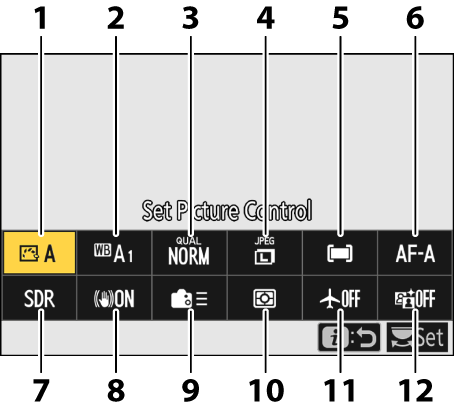
- Set Picture Control (0Picture Controls)
- White balance (0White Balance)
- Image quality (0Adjusting Image Quality)
- Image size (0Choosing an Image Size)
- AF-area mode/subj. detection (0AF-Area Mode, Subject Detection)
- Focus mode (0Focus Mode)
- Tone mode (0Tone mode)
- Vibration reduction (0Vibration reduction)
- Custom controls (shooting; 0f2: Custom controls (shooting))
- Metering (0Metering)
- Airplane mode (0Airplane mode)
- Active D-Lighting (0Active D-Lighting)
The Video i Menu
Pressing the i button in video mode displays the items listed below. Highlight the desired item using the multi selector and press J to view options.
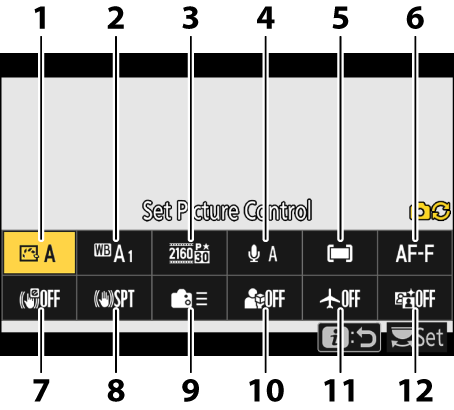
- Set Picture Control (0Picture Controls)
- White balance (0White Balance)
- Frame size/frame rate (0Video Frame Size and Rate Options)
- Microphone sensitivity (0Microphone sensitivity)
- AF-area mode/subj. detection (0AF-Area Mode, Subject Detection)
- Focus mode (0Focus Mode)
- Electronic VR (0Electronic VR)
- Vibration reduction (0Vibration reduction)
- Custom controls (0g2: Custom controls)
- Product review mode (0Product review mode)
- Airplane mode (0Airplane mode)
- Active D-Lighting (0Active D-Lighting)
The Photo Playback i Menu
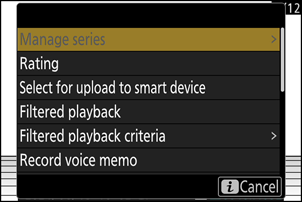
Pressing the i button on the selected photo displays an i menu of playback options for photos (0The Photo Playback i Menu).
Photos
The Video Playback i Menu
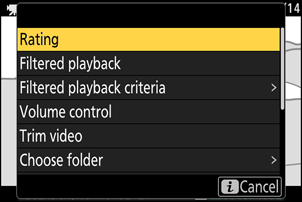
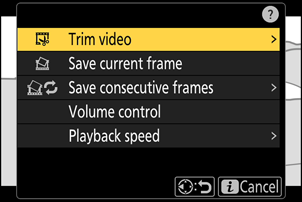
Pressing the i button on the selected video or while video playback is paused displays a context-sensitive i menu of playback options for videos (0The Video Playback iMenu).
Videos
Videos (playback paused)
Customizing the i Menu
The items displayed in the i menu during shooting can be chosen using Custom Setting f1 or g1 [Customize i menu].
Highlight Custom Setting f1 or g1 [Customize i menu] and press J.
See "The MENU Button" (0The MENU Button) and "Using the Menus" (0Using the Menus) for information on using the menus.
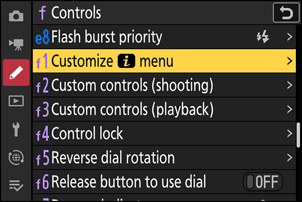
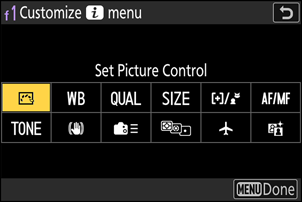
Highlight the position you want to change and press J.
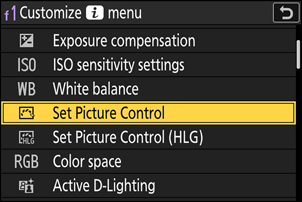
A list of the items available for the selected position will be displayed.
Highlight the desired item and press J.
- The item will be assigned to the selected position and the options shown in Step 2 will be displayed.
- Repeat Steps 2 and 3 as desired.
Press the G button.
Changes will be saved and the Custom Settings menu will be displayed.